Man, these past few of weeks have been insanely busy (which would explain the lack of posts). I just had my 22nd birthday about a week ago, and my two very best friends flew all the way up to Seattle from Florida to celebrate it with me!
On top of having my birthday, I've been trying to get all of my things in order for school to start TOMORROW (I'm seriously freaking out. It's my senior year!), and I managed to get myself sick for a whole freakin' week!
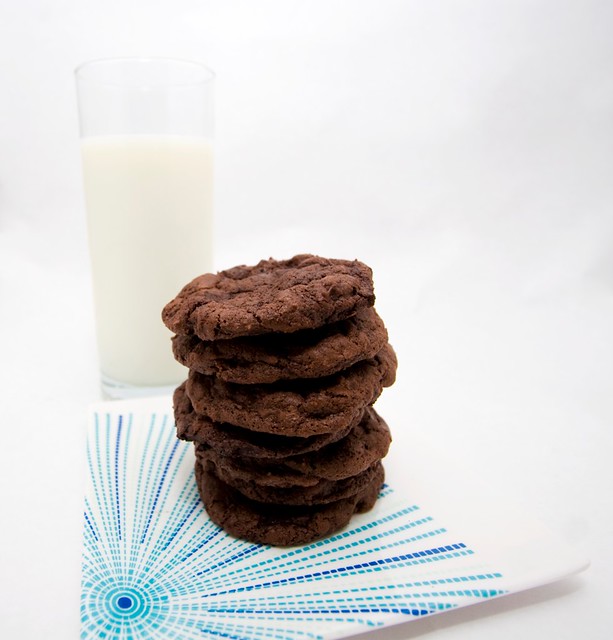
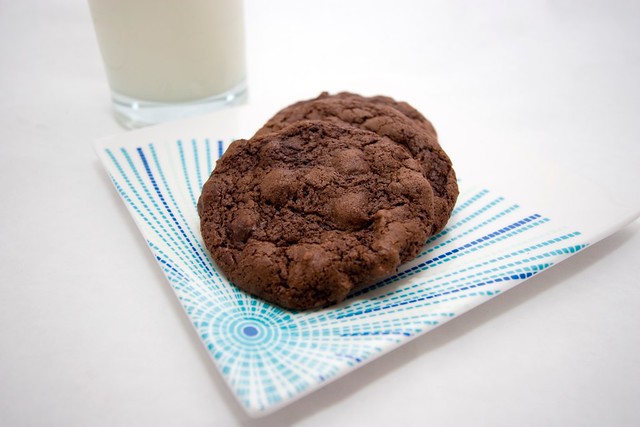
So, the point is, I do apologize for not updating in quite some time, but hopefully this peace offering of these buttery, sweet, hearty cookies will satisfy :).
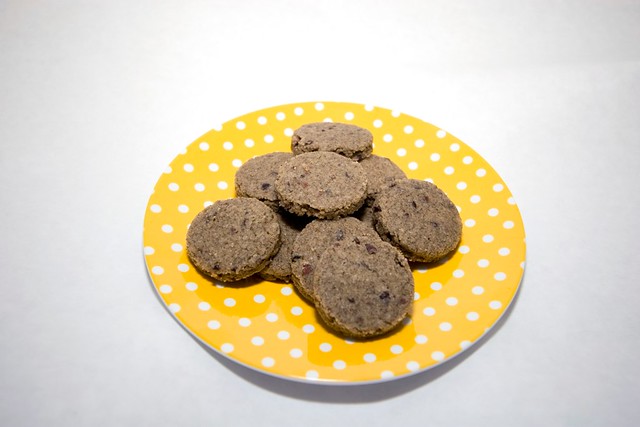
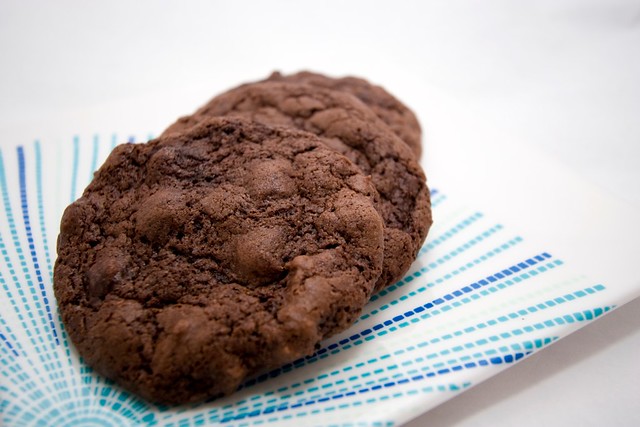
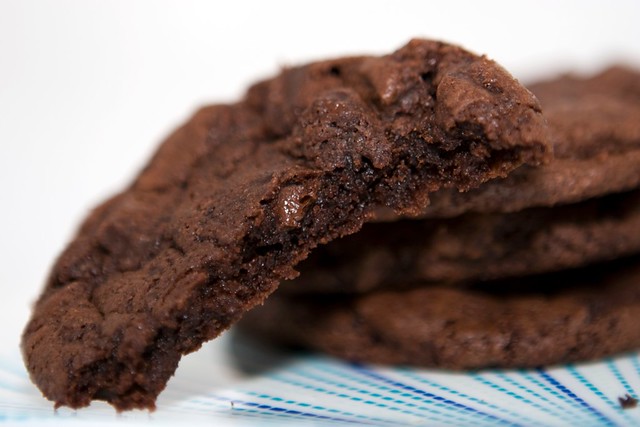
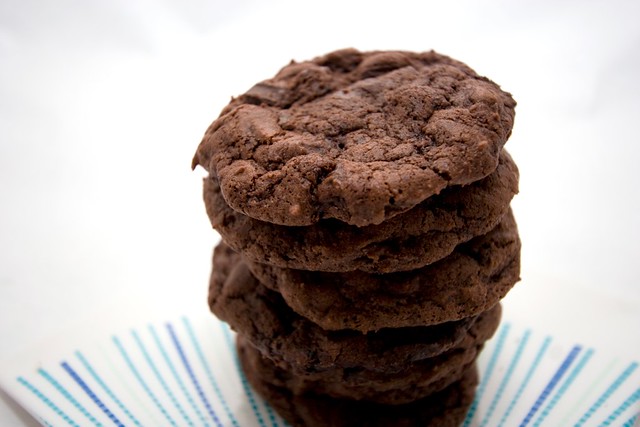
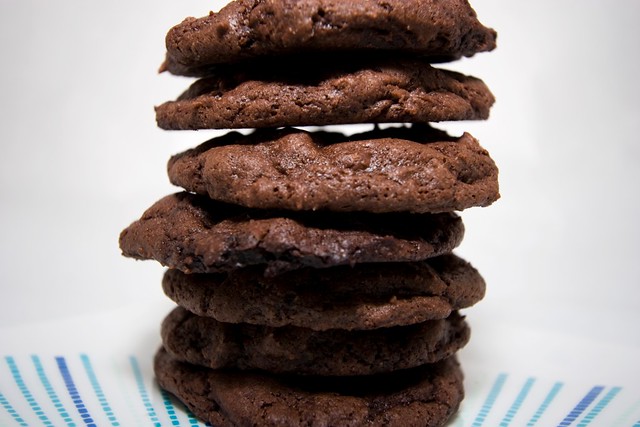
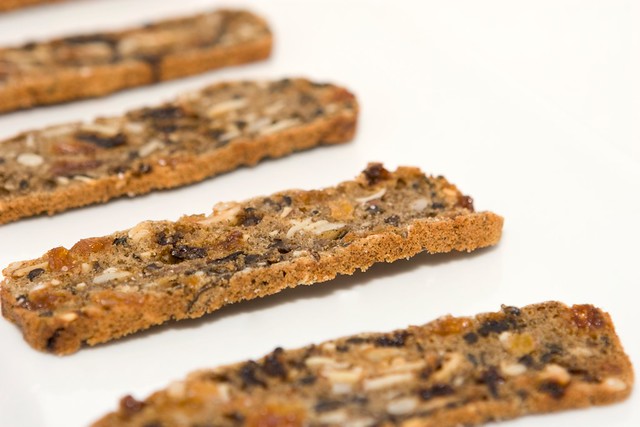
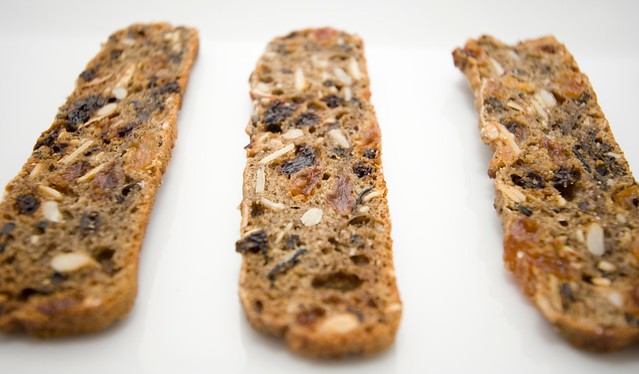
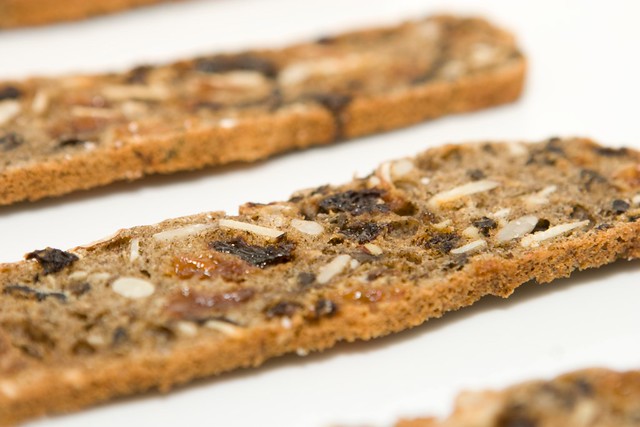
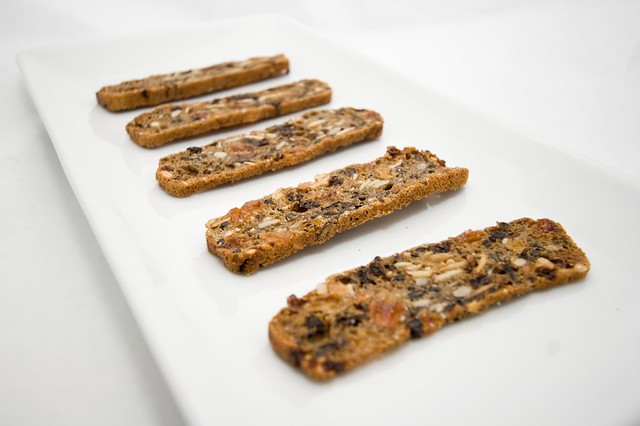
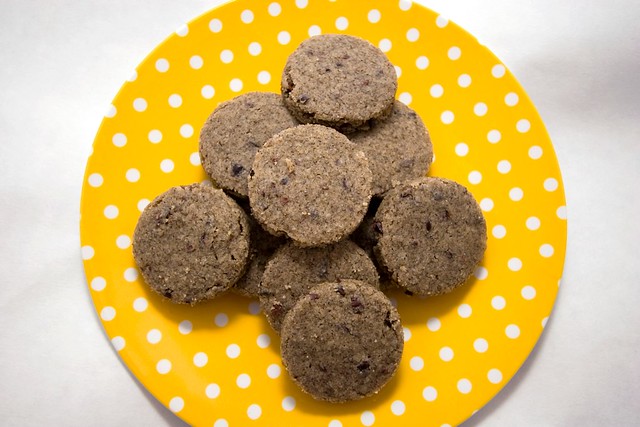
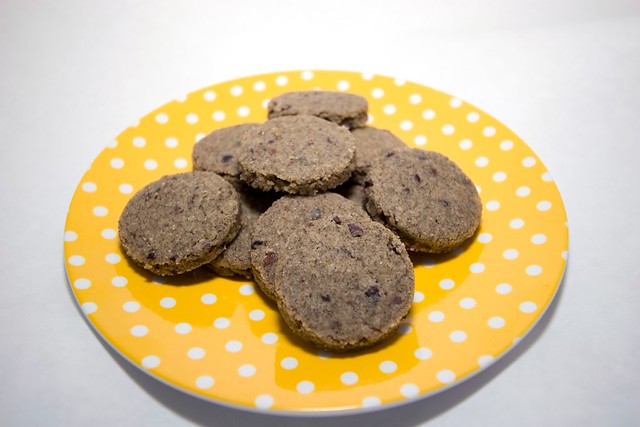
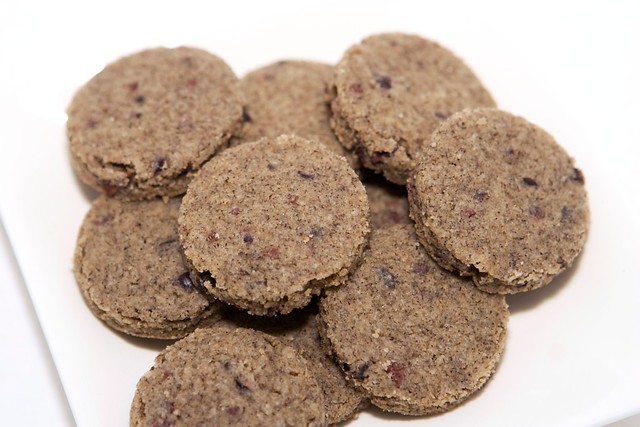
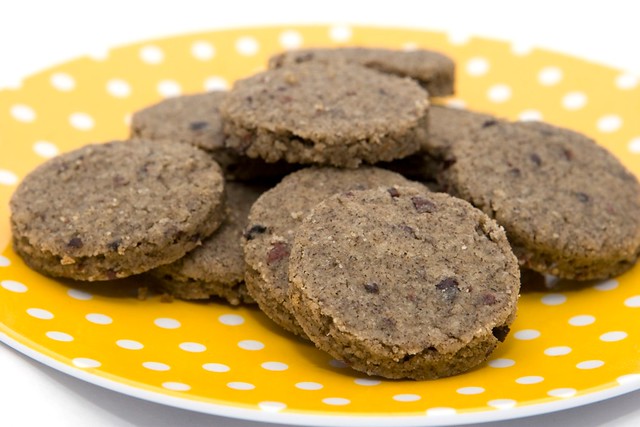
These cookies are really something else. While they may not be the prettiest girl at the ball, they certainly are tasty! They're rich and crumbly like shortbread, but the buckwheat brings in a nuttiness that pairs so nicely with the crunchy tidbits of cocoa nibs. They are also incredibly easy to make, and only use six ingredients!
I decided to make my cookies bite-sized because I decided that you don't feel as bad eating seven tiny cookies as you do when you eat seven full-sized cookies :D. Plus, I mean come on, they are incredibly cute- like baby cookies!
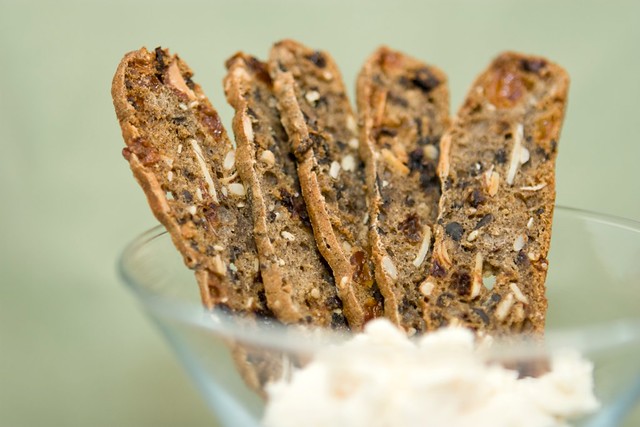
I urge you to make these as I think you will find that they are a fun spin on the classic chocolate chip cookie that happens to be unbelievably addictive.
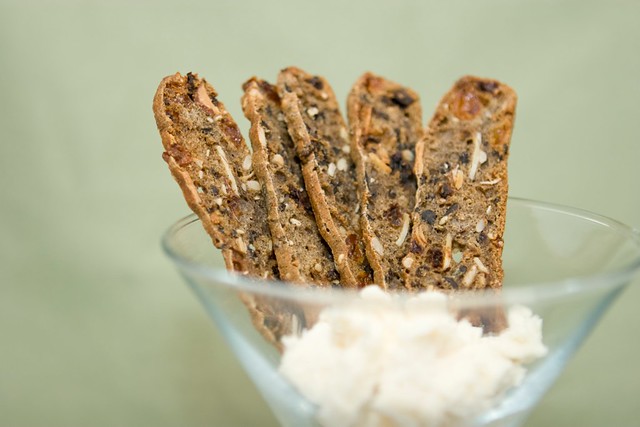
(Note: these cookies crumbled over ice cream = heaven!!)
Nibby Buckwheat Butter Cookies
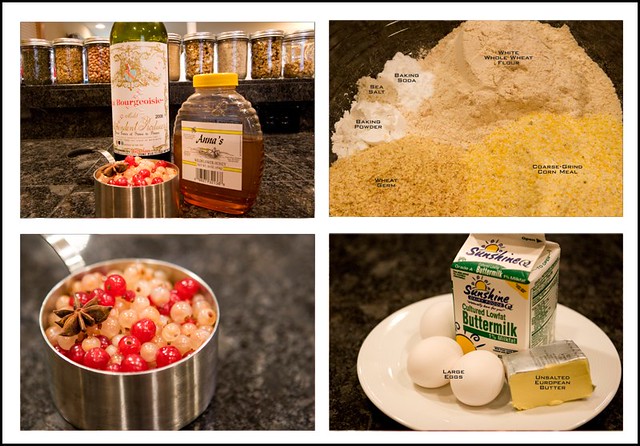
ingredients:
- 1 1/4 cup (5.6 oz) all purpose flour
- 3/4 cup (3 oz) buckwheat flour
- 2 sticks (1 cup/ 8 oz) unsalted butter, softened
- 2/3 cup granulated sugar
- 1/4 tsp sea salt
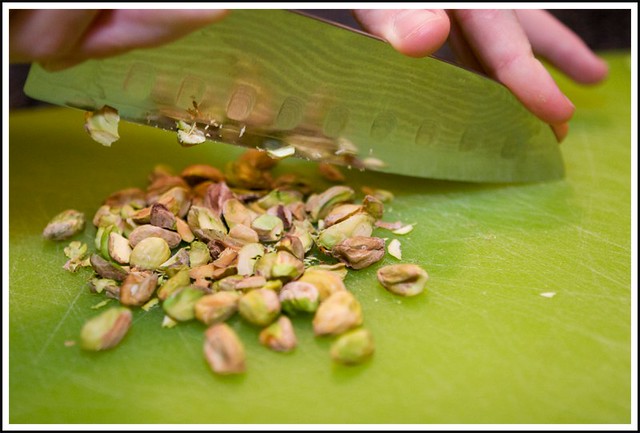
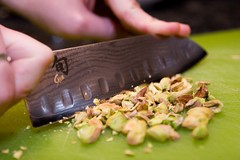
- 1/3 cup cocoa nibs
- 1 1/2 tsp pure vanilla extract
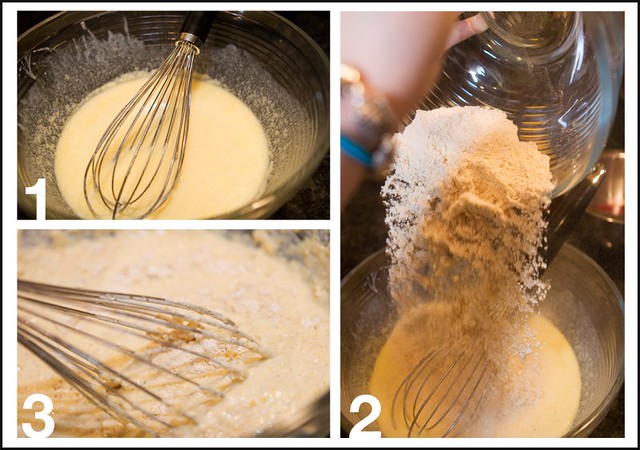
- In a medium bowl, combine the flours sand salt. Set aside.
- In the bowl of an electric mixer fitted with the paddle attachment, mix together the butter and sugar for only about a minute. Add in the cocoa nibs and vanilla and mix. Add in the flour mixture and mix just until incorporated.
- Pour the dough out onto a clean surface and knead until it comes together. Roll the dough out into 2-4 flat patties (about the thickness you want your cookies- maybe 1/4 inch). Refrigerate for at least two hours.
- When ready to bake, preheat the oven to 350 degrees, and line your baking sheets with a silicone baking mat or parchment paper.
- Stamp out the cookies using a cookie cutter and place on the prepared baking sheets about an inch apart. Bake for 12-14 minutes.
- Remove the cookies from the oven. They will be incredibly soft and will have sort of melted down a bit in the oven. At this point i went ahead and stamped each cookie again with the cookie cutter so that they would look cleaner (plus it left me with a bunch of cookie crumbles that I promptly crumbles over ice cream). Let the cookies cool on the baking sheet for a few minutes before moving them to a rack to cool further.