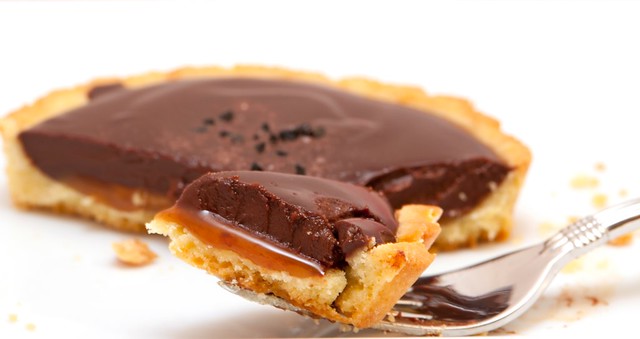
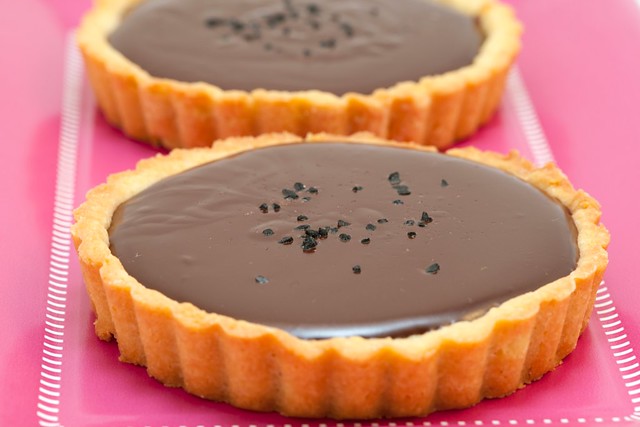
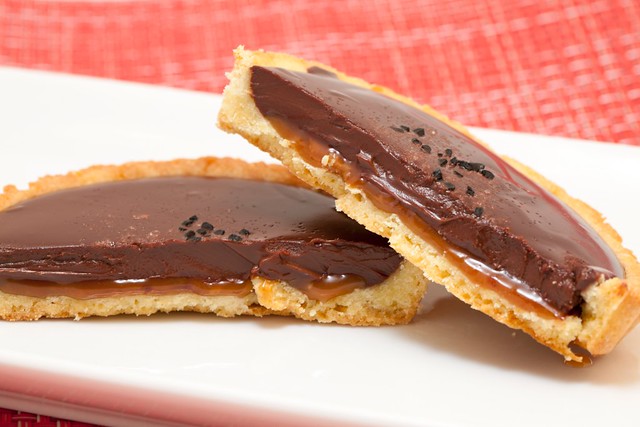
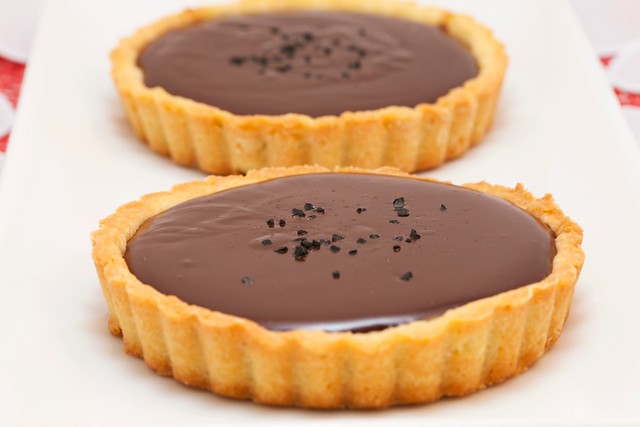
These tarts are the final component to the Valentine's dinner that I made for Mikey and myself this year, and I think they were both of our favorite parts!
These tarts are even more amazing that they look. The luxuriously creamy chocolate ganache, the ooey-gooey caramel, and the crisp, buttery, golden crust all come together to create one of the best desserts I have ever had!
We ended up eating these little tarts as if they were cookies- just picking them up and biting them! It seemed to work best, and certainly aided in hastening the plate to mouth exchange. While these tarts are amazingly tasty, they are also amazingly rich, and I highly recommend that you have an ice-cold glass of milk on hand to wash it down.
Mikey brought some extras in to work and gave one to his parents and all were met with rave reviews!
Salted Chocolate Caramel Tarts
recipe slightly adapted from here
ingredients:
crust:
- 10 tbsp (5 ounces) unsalted butter, at room temperature
- 1/2 cup (3 1/2 ounces) granulated sugar
- 2 large eggs, at room temperature
- 1 tsp pure vanilla extract
- 2 cups (8 1/2 ounces) all-purpose flour
- 1 tsp sea salt
caramel:
- 1 cup (7 ounces) granulated sugar
- 5 tbsp water
- 1/2 cup heavy cream
- pinch of sea salt
chocolate ganache:
- 12 ounces bittersweet chocolate, coarsely chopped
- small pinch of sea salt + more for garnish
- 2 cups heavy cream
for the crust:
- In the bowl of an electric mixer fitted with the paddle attachment, cream together the butter and sugar for about 5 minutes. Add in the eggs and vanilla and mix until incorporated. Add in the flour and salt on low speed and mic until just incorporated.
- Scrape the dough out onto a piece of plastic wrap and shape into a disk. Wrap and refrigerate for at least 1 hour or overnight.
- Flour work surface and roll out your dough to 1/4'' thick. Press the dough into the bottom and up the sides of a 9" tart pan (I used seven 4" tart pans). Place in the freezer for 10-15 minutes or in the fridge for an hour.
- When ready to bake, preheat the oven to 350 degrees.
- Line your crust-filled tart shell(s) with tin foil and fill with pie weights or dried beans. Bake for 30 minutes if you are using a large tart pan, or 20 minutes if you are using smaller. Turn the tarts halfway through.
- Remove the foil and weights from the tarts and bake for about 10 minutes more or until the tart shells are golden. Let cool on a wire rack before filling.
for the caramel:
- Place the cream in a small sauce pan and heat it over medium heat. Stir it occasionally while you cook the sugar and if it starts to boil up, then turn it off.
- In a medium saucepan heat the water and sugar over high heat, stirring until the sugar dissolves.
- Bring the mixture to a boil and cook without stirring until the mixture turns a dark amber. Swirl the pan to ensure even cooking. (This will take between 5 and 10 minutes.)
- Take the sugar mixture off of the stove and SLOWLY pour the cream into the sugar, a little at a time because it will boil up. Stir until combined and smooth. Stir in the salt.
- Pour the caramel into the bottom of the cooled tart crust(s), covering the bottom(s) evenly. Allow is to cool until it firms and is no longer shiny.
for the ganache:
- Place the chocolate and salt in a large heatproof bowl.
- Place the cream in a small saucepan and bring to a boil.
- Pour the hot cream over the chocolate and allow it to sit for a couple of minutes. Whisk slowly to gently combine (whisking to fast will incorporate air making the ganache less smooth).
- Ladle an even amount of ganache into each of the tarts over the caramel. While the ganache is still warm, sprinkle the tops of the tart(s) with some sea salt. (I used a combination of pink Himalayan salt and black lava salt that is colored with charcoal.)
- Allow the tart(s) to sit at room temperature for 3-12 hours to cool and harden


harika gozukuyor.ellerine saglik.
ReplyDeletewow, these look stunning! Love that you used black lava salt....gorgeous!
ReplyDeleteWhen I saw those pictures, my mouth started drooling. Yum!!
ReplyDeleteCharlie, 12 year old food blogger
thanks so much!
ReplyDeleteWow, these look amazing! I recently got some pink Himalayan salt from Sustainable Sourcing https://secure.sustainablesourcing.com and I think it would be wonderful sprinkled on top of this treat. Thanks for sharing!
ReplyDelete