My blog has moved!

You should be automatically redirected in 6 seconds. If not, visit
http://www.spachethespatula.com/
and update your bookmarks.

Friday, February 25, 2011

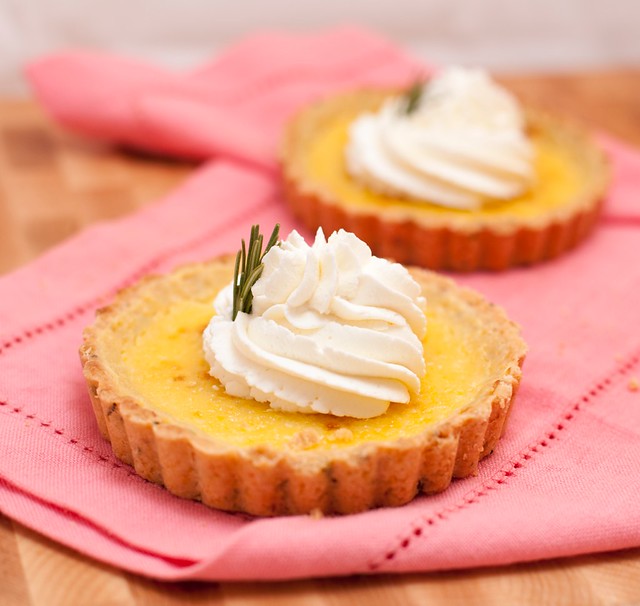
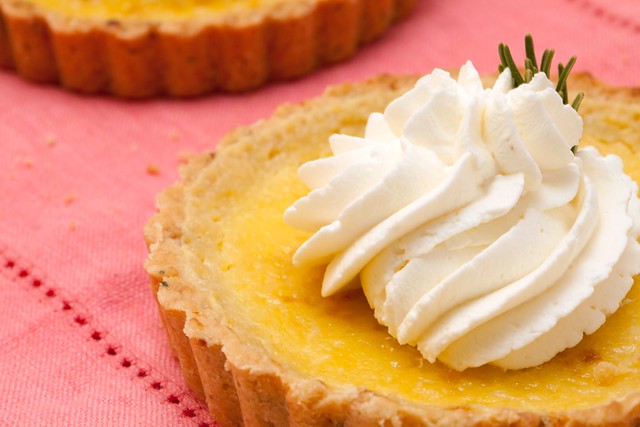
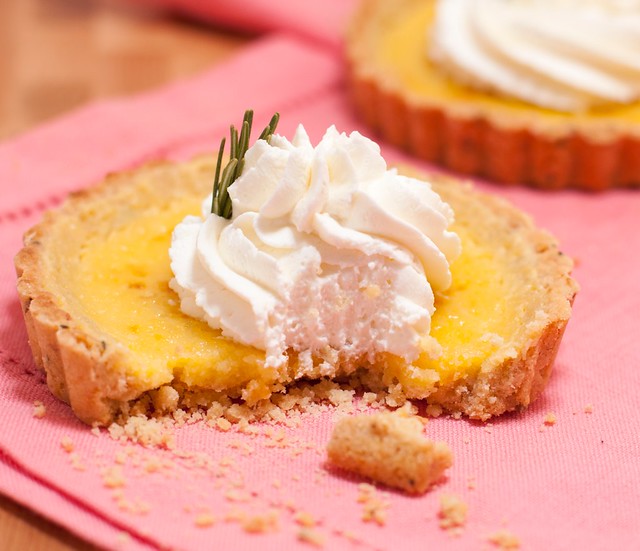
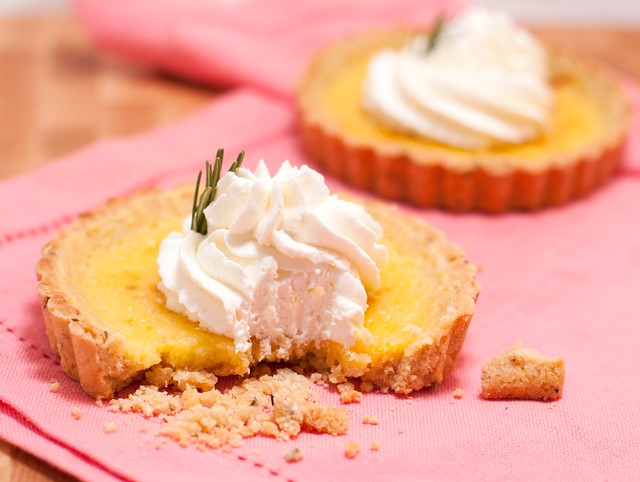
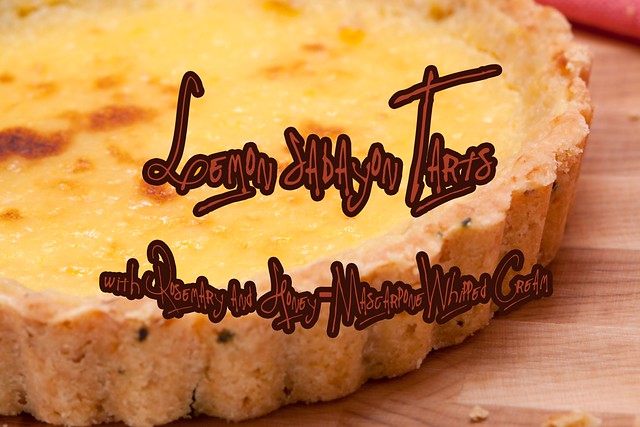
Thomas Keller's Lemon Sabayon Tarts with Rosemary and Honey-Mascarpone Whipped Cream

IMG_0253

So remember when I said a few weeks ago that I was going to share the dessert that I made for Mikey's parents' dinner party? Well here it finally is! The reason it took so long is that last time I had no time to photograph the tarts before I handed them over to Amy, Mikey's mom, for her party. So, on Monday, while I had no class due to President's Day, I went over to his parents' home and Amy and I made them again!

These tarts are tasty and unique, and a wonderful finish to any meal. The best part is that the tartness and freshness from the lemons make them a lot lighter than a chocolate or ice cream dessert. The filling is creamy and smooth, and the pine nuts and rosemary in the crust add a nice earthiness. The honey-mascarpone whipped cream cuts the sourness from the citrus and ties the entire dessert together, leaving you with a dessert that looks and tastes far more sophisticated than it really is ;).

This dessert is fairly easy to make, but, you need to be ready for a workout because you will have to whisk continuously for a good 10-15 minutes. Having to do this twice in one day left my arm feeling like I just lifted weights at the gym! However, the whisking is the only truly difficult part of the recipe, and even that doesn't take any special skill.

I think that it would be fun to experiment with different nuts and herbs in the crust and different citrus in the filling. For instance, a brazil nut and maybe mint crust with a blood orange filling, or keep the pine nut crust and add in grapefruit as the filling! Adding cocoa powder into the crust might even be an interesting alteration.

If you have any extra sabayon, it is positively delectable served over fresh berries!

IMG_0272
IMG_0260
IMG_0279

Thomas Keller's Lemon Sabayon Tart with Rosemary
recipe slightly adapted from here
the crust recipe will make enough for 3 large tarts or an array of smaller ones (also, I wouldn't recommend  trying to third the crust recipe as it would be difficult to measure 1/3 of an egg)
the filling is for 1/3 of the crust recipe (I find it's easiest to make the filling in smaller batches)

crust:
  • 10 ounces (2 cups) toasted pine nuts (you simply must toast them; it makes all the difference)
  • 3 sprigs fresh rosemary
  • 1/3 cup granulated sugar
  • 1 lb (3 cups) all-purpose flour
  • 1 tsp sea salt
  • 8 ounces (2 sticks) unsalted butter, at room temperature
  • 1 large egg
  • 1 tsp pure vanilla extract
  1. Place the pine nuts in a food processor and pulse a few times. Add in the sugar, rosemary leaves, salt, and flour and continue to pulse until the nuts are finely ground.
  2. Transfer the mixture to the bowl of an electric mixer fitted with the paddle attachment. Add in the butter, egg, and vanilla extract and mix to incorporate.
  3. Divide the dough into three equal parts. Wrap each piece in plastic wrap and refrigerate for at least 10 minutes before using. (You can freeze any extra dough for up to a month.)
sabayon & assembly:
  • 2 large eggs, cold
  • 2 large egg yolks, cold
  • 3/4 cup sugar
  • 1/2 cup fresh lemon juice
  • 1-2 tbsp fresh lemon zest
  • 6 tbsp unsalted butter, cold and cut into 6 pieces
  1. Preheat the oven to 350 degrees. Butter and flour (I only buttered and it worked great) a 9-inch fluted tart pan (or rectangular equivalent- or many smaller tart pans) and refrigerate it while the oven preheats.
  2. Remove the tart pan from the fridge. Using your fingers, press the chilled dough into the tart pan(s), and up the sides.
  3. Bake the crust for 10 to 15 minutes, then rotate it and bake for 10-15 minutes more until evenly golden-brown. Remove the crust from the oven and let it cool while you make the sabayon filling.
  4. Bring about 1 1/2 inches of water to a oil in a pot that is slightly smaller than the diameter of the bowl you will be making your sabayon in.
  5. In a large metal or glass bowl, whisk together the eggs, yolks, and sugar for about a minute until the mixture is smooth. In a measuring cup, combine the lemon juice and zest; set aside.
  6. Set the bowl over the pot, creating a double boiler, and whisk the mixture vigorously. After about 2 1/2 minutes, when the eggs are foamy and have thickened, add 1/3 of the lemon juice. Continue to whisk vigorously, and after another 2 1/2 minutes when the mixture has thickened again add another 1/3 of the lemon juice. Again whisk for another 2 1/2 minutes and then add the final 1/3 of lemon juice. Whisk for 2-3 minutes until the mixture has thickened and is light in color. You can judge if it's thick enough by placing a wooden spoon in the mixture, taking it out, and running your finger down the back of it. If the trail left by your finger stays, it is thick enough.
  7. Turn off the heat and leave the bowl over the water. Whisk in the butter, a piece at a time.
  8. Pour the warm sabayon into the tart crust and place the tart pan on a baking sheet.
  9. Preheat the broiler. While the sabayon is still warm, place the tart under the broiler. Leaving the door of the oven open, brown the top of the sabayon, rotating if necessary to get an even color. (This won't take very long, so DON'T walk away!)
  10. Let the tart sit for at least an hour before serving. (I served mine at room tempeature but you could, alternatively, serve it chilled.) Serve with Whipped Honey-Mascarpone Cream recipe below).
Honey-Mascarpone Whipped Cream

ingredients:
  • 1 cup heavy whipping cream
  • 6 tbsp mascarpone
  • 2-3 tbsp honey
  1. Combine all ingredients in a bowl and whip until stiff peaks.
IMG_0277

Sunday, February 20, 2011

Salted Chocolate Caramel Tarts

IMG_0225

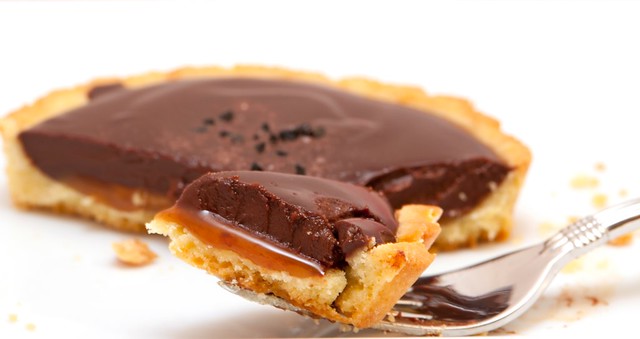
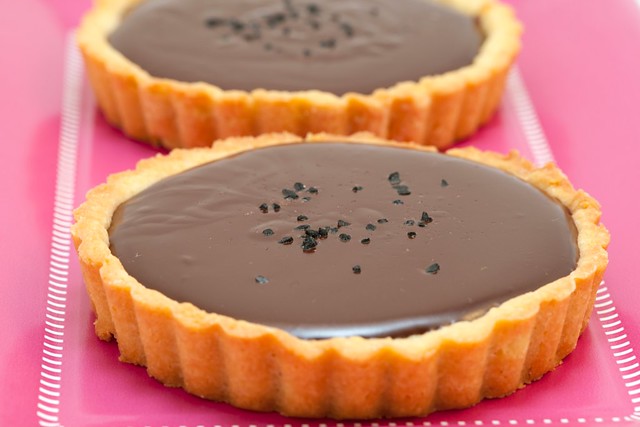
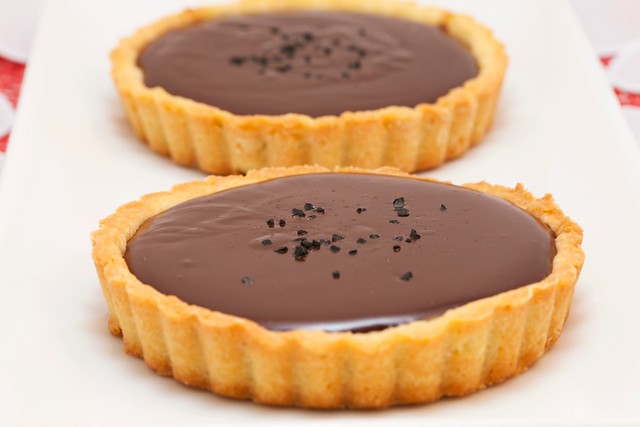
These tarts are the final component to the Valentine's dinner that I made for Mikey and myself this year, and I think they were both of our favorite parts!

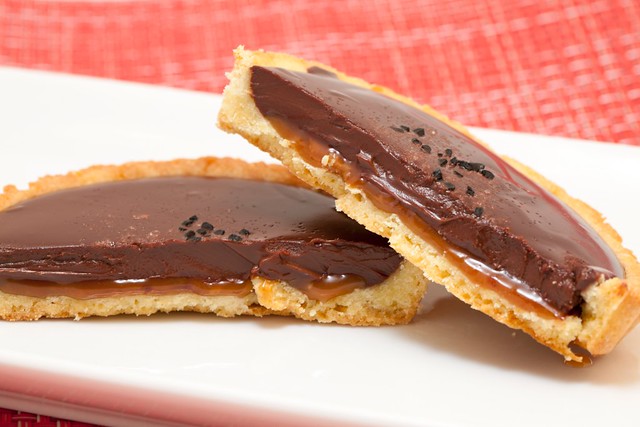
These tarts are even more amazing that they look. The luxuriously creamy chocolate ganache, the ooey-gooey caramel, and the crisp, buttery, golden crust all come together to create one of the best desserts I have ever had!

We ended up eating these little tarts as if they were cookies- just picking them up and biting them! It seemed to work best, and certainly aided in hastening the plate to mouth exchange. While these tarts are amazingly tasty, they are also amazingly rich, and I highly recommend that you have an ice-cold glass of milk on hand to wash it down.

Mikey brought some extras in to work and gave one to his parents and all were met with rave reviews!

IMG_0210
IMG_0220

Salted Chocolate Caramel Tarts
recipe slightly adapted from here

ingredients:

crust:
  • 10 tbsp (5 ounces) unsalted butter, at room temperature
  • 1/2 cup (3 1/2 ounces) granulated sugar
  • 2 large eggs, at room temperature
  • 1 tsp pure vanilla extract
  • 2 cups (8 1/2 ounces) all-purpose flour
  • 1 tsp sea salt
caramel:
  • 1 cup (7 ounces) granulated sugar
  • 5 tbsp water
  • 1/2 cup heavy cream
  • pinch of sea salt
chocolate ganache:
  • 12 ounces bittersweet chocolate, coarsely chopped
  • small pinch of sea salt + more for garnish
  • 2 cups heavy cream
for the crust:
  1. In the bowl of an electric mixer fitted with the paddle attachment, cream together the butter and sugar for about 5 minutes. Add in the eggs and vanilla and mix until incorporated. Add in the flour and salt on low speed and mic until just incorporated.
  2. Scrape the dough out onto a piece of plastic wrap and shape into a disk. Wrap and refrigerate for at least 1 hour or overnight.
  3. Flour work surface and roll out your dough to 1/4'' thick. Press the dough into the bottom and up the sides of a 9" tart pan (I used seven 4" tart pans). Place in the freezer for 10-15 minutes or in the fridge for an hour.
  4. When ready to bake, preheat the oven to 350 degrees.
  5. Line your crust-filled tart shell(s) with tin foil and fill with pie weights or dried beans. Bake for 30 minutes if you are using a large tart pan, or 20 minutes if you are using smaller. Turn the tarts halfway through.
  6. Remove the foil and weights from the tarts and bake for about 10 minutes more or until the tart shells are golden. Let cool on a wire rack before filling.
for the caramel:
  1. Place the cream in a small sauce pan and heat it over medium heat. Stir it occasionally while you cook the sugar and if it starts to boil up, then turn it off.
  2. In a medium saucepan heat the water and sugar over high heat, stirring until the sugar dissolves.
  3. Bring the mixture to a boil and cook without stirring until the mixture turns a dark amber. Swirl the pan to ensure even cooking. (This will take between 5 and 10 minutes.)
  4. Take the sugar mixture off of the stove and SLOWLY pour the cream into the sugar, a little at a time because it will boil up. Stir until combined and smooth. Stir in the salt.
  5. Pour the caramel into the bottom of the cooled tart crust(s), covering the bottom(s) evenly. Allow is to cool until it firms and is no longer shiny.
for the ganache:
  1. Place the chocolate and salt in a large heatproof bowl.
  2. Place the cream in a small saucepan and bring to a boil.
  3. Pour the hot cream over the chocolate and allow it to sit for a couple of minutes. Whisk slowly to gently combine (whisking to fast will incorporate air making the ganache less smooth).
  4. Ladle an even amount of ganache into each of the tarts over the caramel. While the ganache is still warm, sprinkle the tops of the tart(s) with some sea salt. (I used a combination of pink Himalayan salt and black lava salt that is colored with charcoal.)
  5. Allow the tart(s) to sit at room temperature for 3-12 hours to cool and harden
IMG_0204

Friday, February 18, 2011

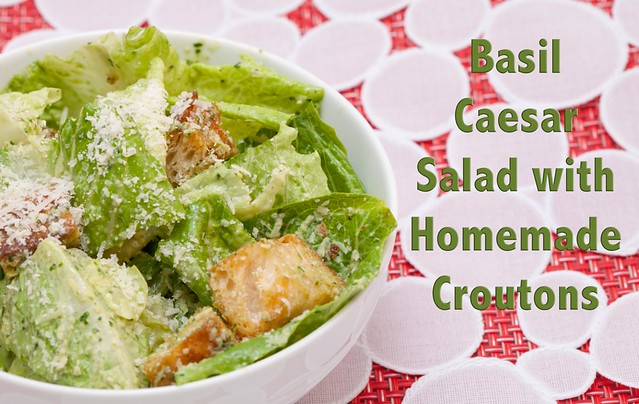
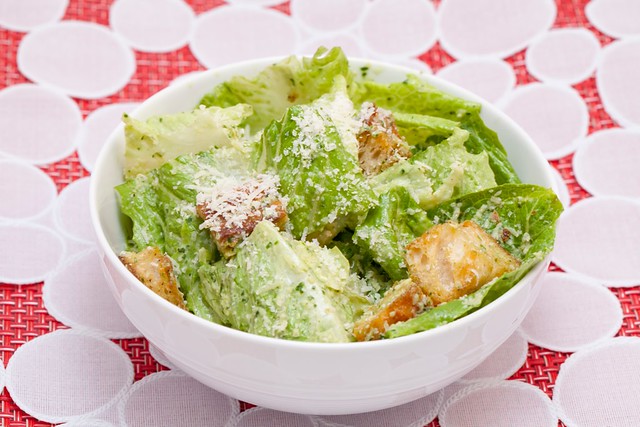
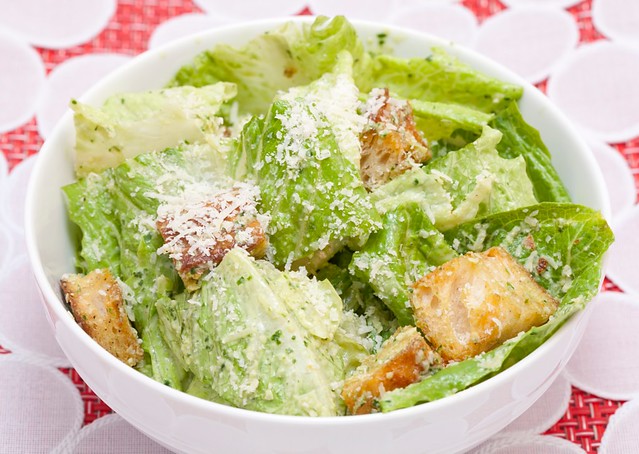
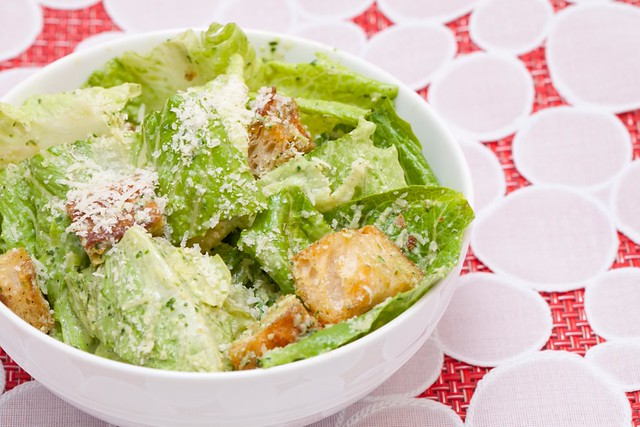
Basil Caesar Salad with Homemade Croutons

IMG_0167

Mikey's favorite type of salad is Caesar salad, and since I have always wanted to try making my own Caesar dressing (with the raw egg and all!), I felt it was the perfect accompaniment to our Valentine's dinner!

This salad was surprising simple to make. The dressing comes together in flash because all you really do is whir all the ingredients in a food processor.

I loved the addition of the herbs in the dressing because it made the salad quite fresh and not as "heavy" as a lot of typical Caesar salads can be. It was SUCH a nice contrast to the rich, juicy, steaks.

I think the salads exceeded Mikey's expectations, and certainly my own! Also, the croutons were sooooo yummy! There is just nothing like homemade croutons; the stuff in the box you get from the grocery store just doesn't even come close.

I think that this salad would also make a delicious main course with the addition of some grilled shrimp or chicken!

IMG_0174
IMG_0169

Basil Caesar Salad with Homemade Croutons
recipe slightly adapted from here

ingredients:
  • 10-inch piece of baguette, cut into 1-inch cubes
  • 1/2 cup extra virgin olive oil, divided
  • 1/2-1 tsp garlic powder, depending on your taste
  • sea salt and freshly-cracked pepper
  • 1 garlic clove
  • 1 large egg
  • juice from 1 lemon
  • 1 tbsp anchovy paste
  • 1 cup fresh basil, coarsely chopped
  • 1/2 cup flat-leaf parsley, coarsely chopped
  • 1 lb romaine heart, washed and cut into fourths
  • 1 cup freshly-grated Parmigiano-Reggiano
  1. Preheat the oven to 375 degrees.
  2. Toss bread cubes with 2 tablespoons oil, 1/4 tsp each of salt and pepper, and garlic powder. Spread the seasoned cubes out on a sheet pan and toast in the oven for 12-15 minutes, tossing every 4 or 5 minutes.
  3. With the motor running, drop garlic clove into food processor and finely chop. Add in the egg, lemon juice, anchovy paste, and 1/2 tsp pepper and pulse until combined. With the motor running, slowly drizzle in the remaining 6 tablespoons of olive oil and blend until emulsified. Add in the herbs and blend until the herbs are finely chopped and the dressing is a beautiful green.
  4. Toss the romaine with the dressing, croutons, and half of the cheese. Sprinkle the remaining cheese on top and serve!
IMG_0168

Wednesday, February 16, 2011

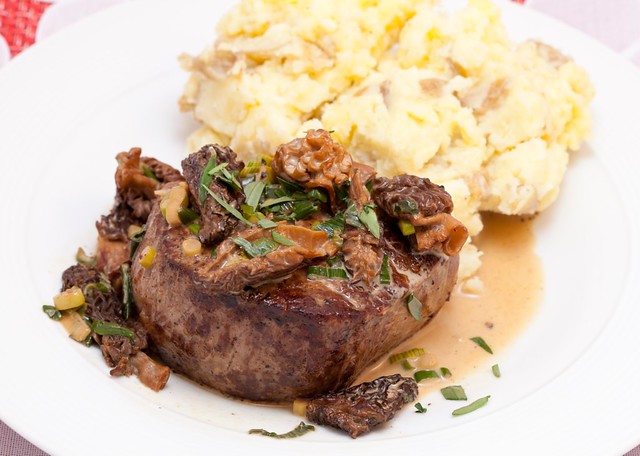
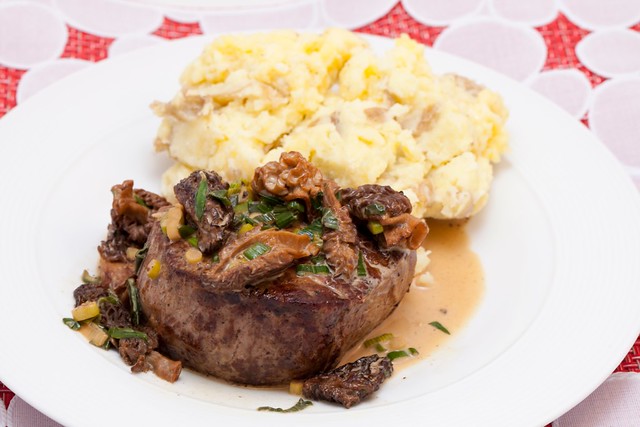
Filet Mignon with Morels in Truffle Butter and Tarragon Marsala Sauce

IMG_0180

I have been insanely busy. I feel like all I do anymore is write papers! I had four papers due last week, and a huge one due yesterday that caused Mikey and me to have to postpone our Valentine's Day dinner to last night.

Every year for Valentine's Day I like to make Mikey and myself a gourmet dinner because I think that it's more special than going out to a restaurant and having someone else do the cooking. The meal always has to include: red meat, potatoes, and a chocolate dessert.
Last year I made:

with
and

It was a brilliant success if I do say so myself. HOWEVER, this year just may have topped it!

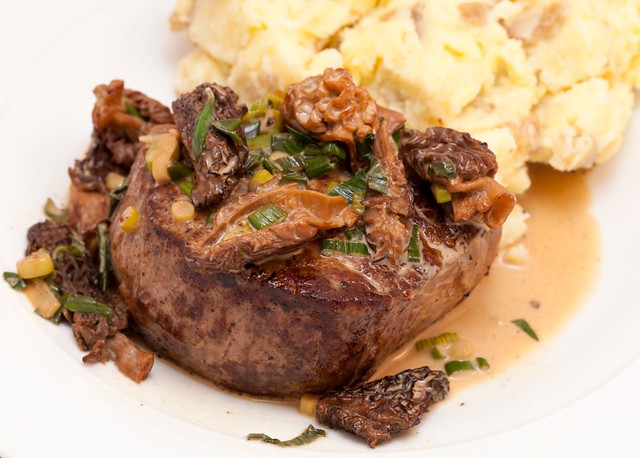
Today I'll be sharing with you the main course: Filet Mignon with Morels in Truffle Butter and Tarragon-Marsala Sauce.

In the next few days I will be posting the scrumptiously fresh salad I made, and the INCREDIBLE tarts I baked for dessert!

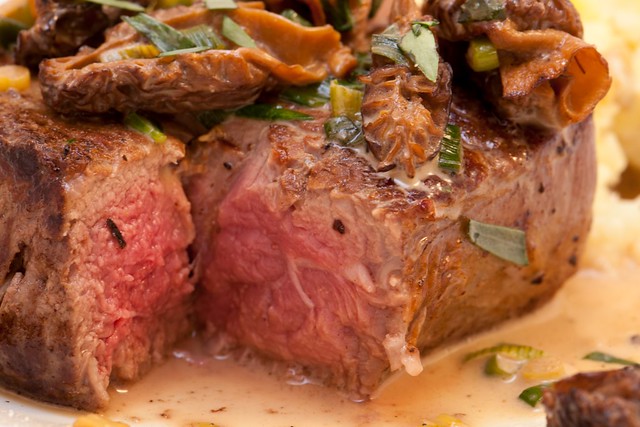
These steaks were some of the best I have ever had, and that is truly saying something because Mikey and I tend to treat ourselves to the multitude of Prime steakhouses in the Seattle area that charge nearly $100 per steak whenever we deserve a pat-on-the-back.
I'm not saying I'm the best filet cooker in Seattle by any means (though I think I did a pretty excellent job :P). I attribute the amazing flavor to the sauce. It was earthy and rich and absolutely to-die-for! I especially loved the spongy-ness of the morels; they absorbed the sauce beautifully.

I served the steaks with a very simple mashed potato: yukon gold potatoes, butter, cream, salt, and pepper. I think that a good steak sauce always needs a nice starch because I am someone who like to eat everything together. The perfect bite, for me, would be a scoop of sauce-soaked potatoes with a bite of steak on top!

Clearly this meal was not at all low-cal or healthy, but are holiday meals ever supposed to be? Don't answer that, haha. *I* think they shouldn't be!

IMG_0175
IMG_0192

 Filet Mignon with Morels in Truffle Butter and Tarragon Marsala Sauce
recipe adapted from here

ingredients:
  • 1 1/2 ounces dried morels
  • 2 6-to-8-ounce filets
  • sea salt & freshly cracked pepper
  • 2 tbsp truffle butter, divided
  • 3/4 cup chopped green onions
  • 1/3 cup heavy whipping cream
  • 1 tbsp chopped fresh tarragon + more for garnish
  • 1 tbsp dry Marsala
  1. Place the dried morels in a 2-cup measuring cup and fill it with warm water to the 1 1/2 cup mark. Let the morels soak for about 20 minutes, until soft. Drain and reserve 1/2 cup of the soaking liquid. Cut the morels in half.
  2. Pat the steaks dry and sprinkle with sea salt and freshly cracked pepper. Melt 1tablespoon of the truffle butter in a medium nonstick skillet over medium-high heat. When the pan is hot, add in the steaks and cook to desired doneness (obviously medium-rare is the only doneness), about 4 minutes per side. It is VERY important that you don't move the steaks around while they cook or you won't get a nice sear.
  3. Transfer the steak to a plate and tent with tinfoil to rest while you make the sauce.
  4. Add the other tablespoon of truffle butter to the skillet. Add in the morels and green onions and saute until tender, about 3 to 4 minutes. Add in the cream, tarragon, marsala, and reserved soaking liquid from the morels. Simmer until the sauce is lightly thickened (it will be quite runny still but that is what you want), about 5 minutes. Season with salt and pepper.
  5. Serve the sauce over the steaks, sprinkled with extra chopped tarragon for garnish.
IMG_0178

Saturday, February 5, 2011

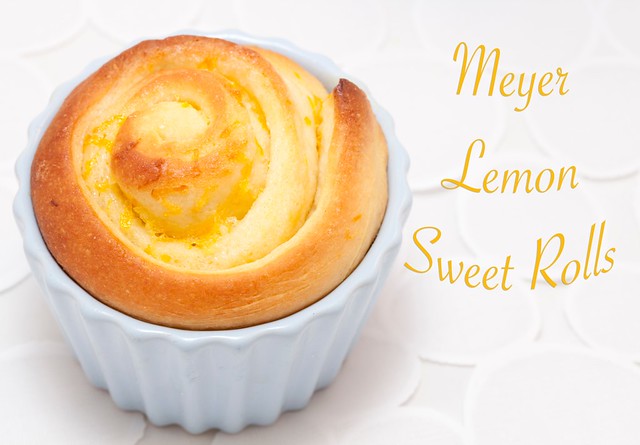
Meyer Lemon Sweet Rolls

IMG_0136 copy


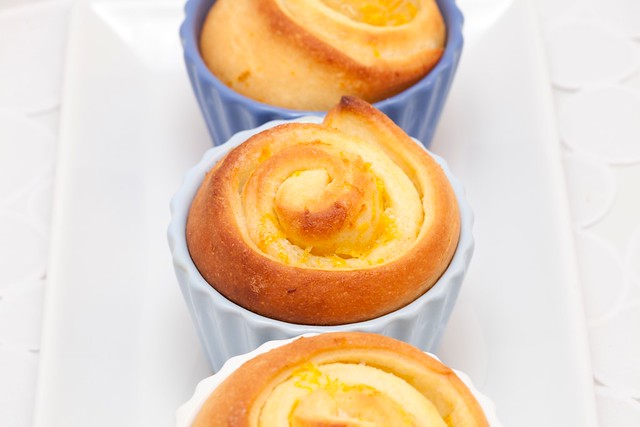
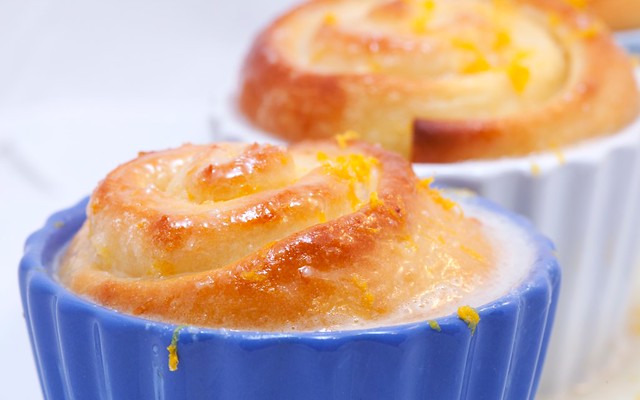
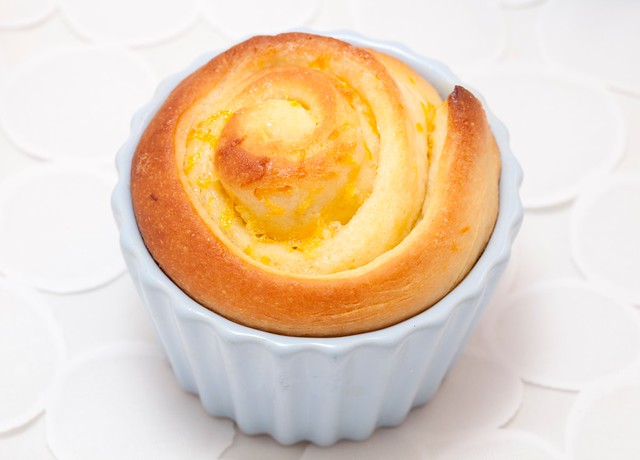
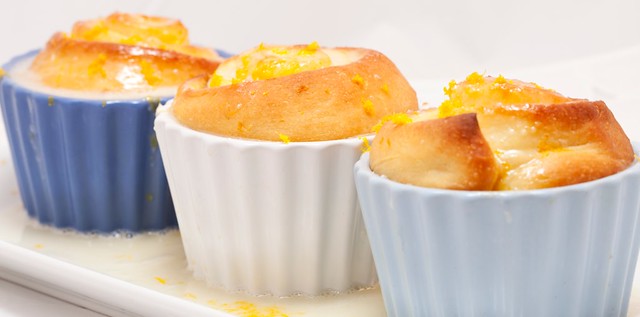
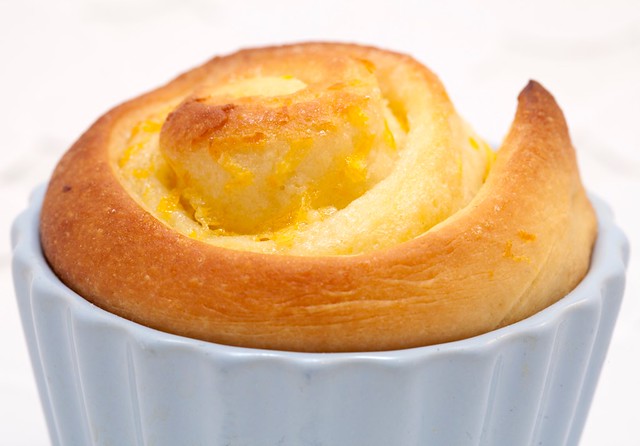
I'll start off by stating the obvious- these are NOT low-calorie rolls. However, they ARE the kind of treat to make on a lazy weekend morning with a couple of friends or, perhaps your kids. Additionally, they are so amazingly scrumptious that you will take one bite and no longer trouble yourself with trifling matters such as: Will I need to spend an extra hour working out? Do I care if I gain weight just looking at these? No, none of this matters anymore when the warm, gooey, tart, and sweet morsel hits your mouth- everything is now right in the world.

These rolls, while time-intensive, are quite simple to make. Whenever I'm baking with yeast, I always am afraid that I am going to do something wrong and the bread won't rise or something of the sort, but I have yet to fail with yeast and am rapidly coming to the realization that maybe my stigma surrounding it is completely unfounded. Now that I know how easy these rolls are to make, and more importantly, how hard they are to get wrong, I can't wait to experiment with various different filling combos as well as the traditional cinnamon roll!

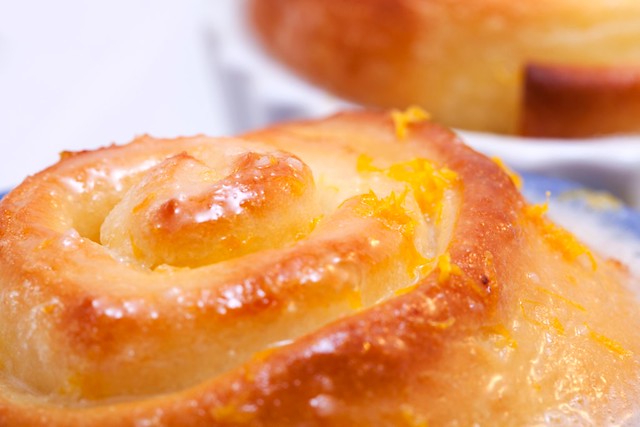
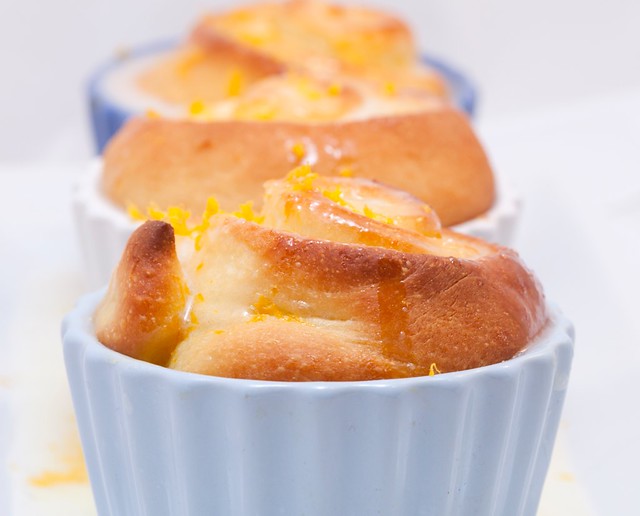
If you have the time, I highly suggest that you try out these rolls. You will not be disappointed by the crisp exterior, the ooey-gooey center, or the creamy, tart glaze. In fact, these rolls are well worth waking up early to make :)!

IMG_0157
IMG_0142
IMG_0151
IMG_0155

Meyer Lemon Sweet Rolls
recipe from slightly adapted from here
makes about 2 dozen rolls (depending on how you roll/cut them)

ingredients:
rolls:
  • 2 cups warm water
  • 2 tbsp dry yeast
  • 2/3 cup instant nonfat dry milk powder
  • 1/2 cup granulated sugar
  • 2 tsp kosher salt
  • 1/2 cup unsalted butter, softened
  • 1 large egg
  • about 5 1/2 cups all-purpose flour
filling:
  • 1 cup unsalted butter, melted
  • 1 cup granulated sugar
  • zest of 6 Meyer lemons
glaze:
  • 8 oz. block cream cheese
  • juice of 6 Meyer lemons
  • pinch of kosher salt
  • 6 cups powdered sugar
  1. In the bowl of an electric mixer, stir together the warm water and yeast and allow to proof for around 10 minutes. It will get kind of foamy on top when it's done.
  2. To the yeast/water mixture, add in the milk powder, sugar, and salt. With the paddle attachment, stir together on low speed. Add in the softened butter and egg and combine.
  3. Slowly add in the flour, 1 cup at a time until the dough is soft but not sticky (you may need a little more or less flour that I used). Increase the mixer speed to high and mix the dough for about 5 minutes until it pulls away from the sides of the bowl and begins to climb the paddle.
  4. Remove the dough from the bowl and knead a few times on a floured work surface. Set the dough into a large greased bowl and cover with plastic wrap. Set in a warm place to rise for an hour.
  5. Cut the risen dough into thirds. Using a rolling pin, roll 1/3 of the dough into a rectangle 1/4-1/2 inch thick. Spread the dough with 1/3 cup of the butter, 1/3 cup of granulated sugar, and the zest of 2 lemons. Carefully roll the dough up tightly and cut into 1 1/2 inch rolls. Repeat with the rest of the dough.
  6. Preheat the oven to 275 degrees. Place the rolls on a large baking sheet or individual baking cups. Set on top of the preheating oven to rise for about half an hour. Bake for 16-18 minutes until golden brown.
  7. While rolls are baking combine glaze ingredients in a large bowl and beat until combined. Pour or drizzle over warm rolls.
IMG_0135
IMG_0153
IMG_0130

These sweet rolls are featured in a linky party at Sweet Rolls that Rock! Click the button below to check out some more tasty and unique sweet rolls!
  Sweet Rolls that Rock 

Friday, February 4, 2011

Brown Butter Chocolate Walnut Cookies

IMG_0091

Is there anyone out there who doesn't enjoy a good chocolate chip cookie? If so, they should probably head to a doctor and get that checked out because I'm not sure that it's normal.

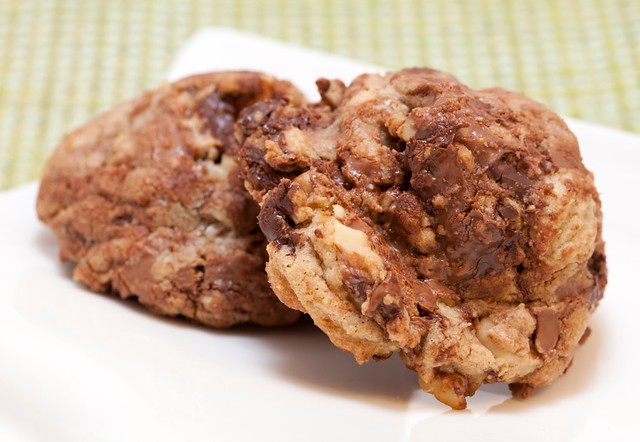
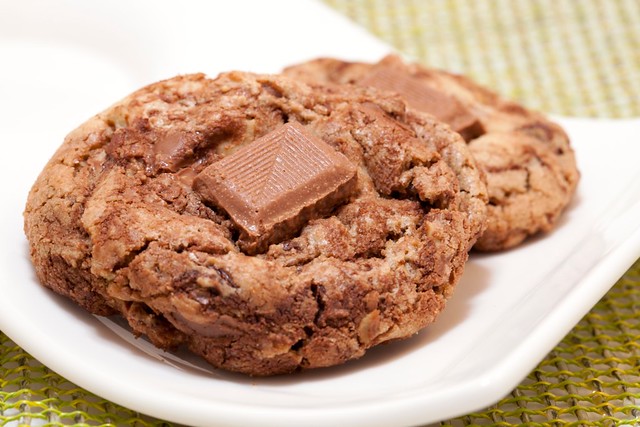
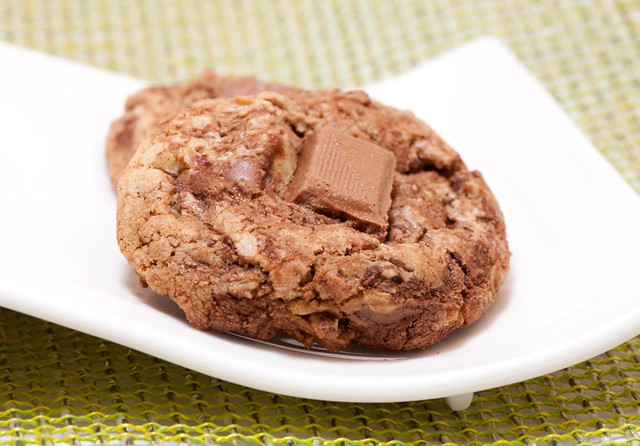
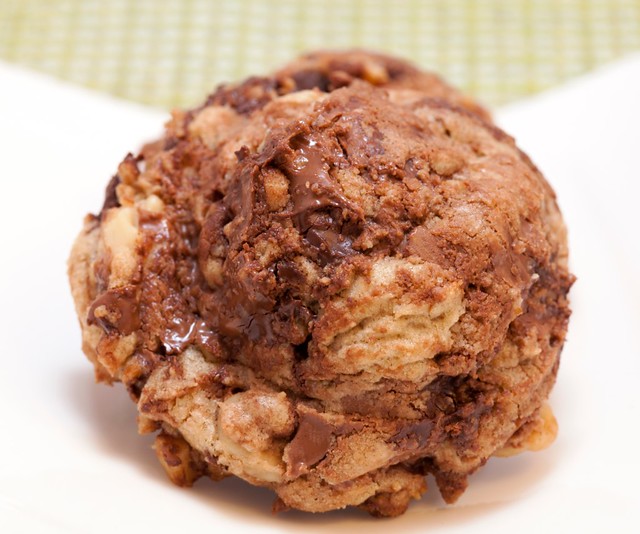
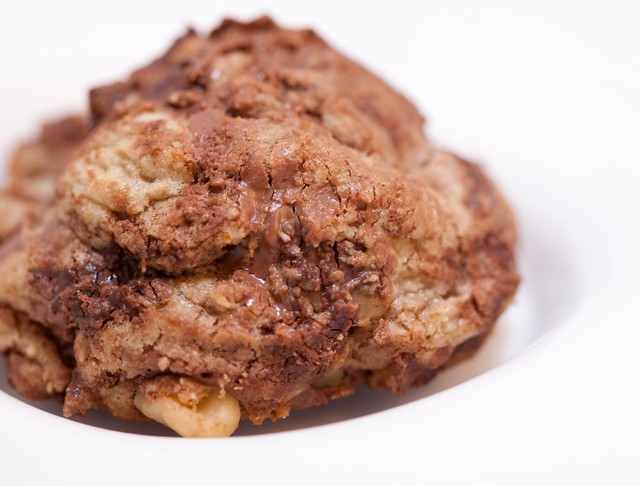
These cookies are truly something amazing. The brown butter gives them a distinctive nutty flavor that it further complemented by the crunchy walnuts. They are also incredibly chocolatey. I love the way the chocolate chips melt a bit in the warm dough to create scrumptious ribbons of chocolate throughout.

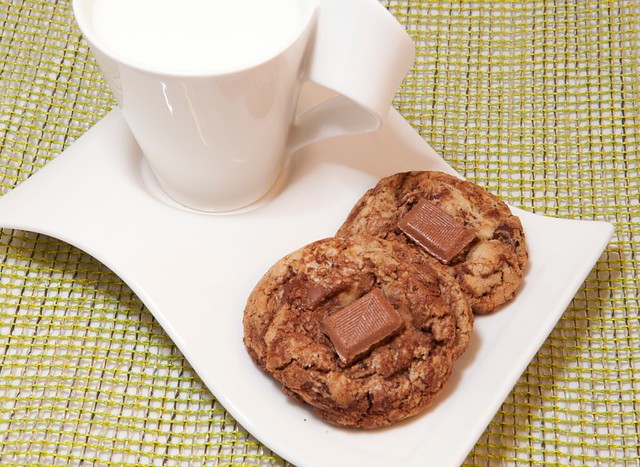
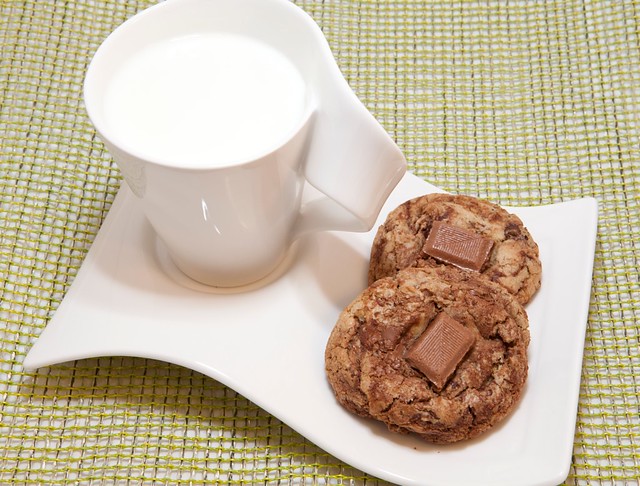
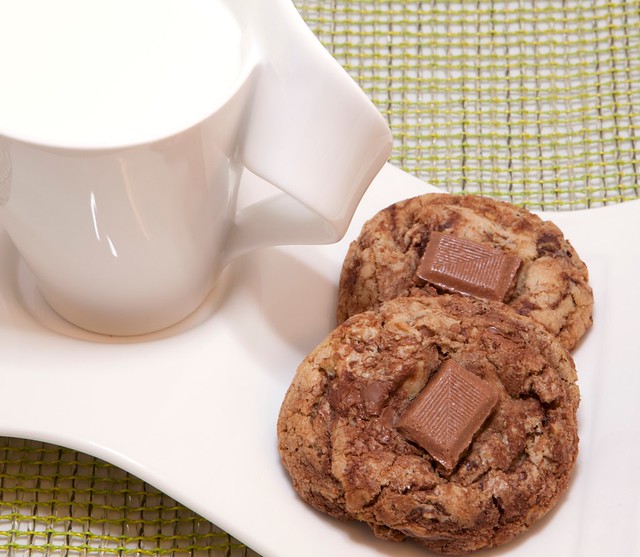
You certainly don't have to add the specialty chocolate squares on top of (or inside of!) the cookies, but it  really puts these delectable delights over the top. I used a milk chocolate bar that was mixed with bits of Christmas spice cookies that I found to really enhance all of the flavors, but I encourage you to play around with any chocolate bar that catches your eye! I think white chocolate would be heavenly, or you could even try a caramel-filled chocolate!

IMG_0090

I find these cookies (like all chocolate chip cookies :P) are best eaten warm, when the chocolate is all melty, with a big class of cold milk- total bliss!

IMG_0107
IMG_0105

I also went ahead and stuffed the specialty chocolate into the center of 1/4 of the cookies for an ooey-gooey treat. They turned out more round and sphere-like, almost like ice cream scoops of delectable cookie!

IMG_0126
IMG_0119
IMG_0128

Brown Butter Chocolate Walnut Cookies
makes roughly 3 dozen cookies

ingredients:
  • 1 cup (2 sticks) unsalted butter
  • 2 cups chopped walnuts
  • 1 cup dark brown sugar
  • 1/2 cup granulated sugar
  • 1 large egg + 1 large egg yolk
  • 1 tbsp pure vanilla extract
  • 2 cups all-purpose flour
  • 1/2 tsp baking soda
  • 1 tsp kosher salt
  • 2 cups chocolate chips (I used 1/2 dark chocolate and 1/2 milk chocolate)
  • optional: specialty candy bar separated into sections (I used a Milk Chocolate with Spiced Cookies Divine chocolate bar)
  1. Preheat oven to 350 degrees. Line a baking sheet with a silicone baking mat or parchment paper; set aside.
  2. In a small saucepan, brown the butter over medium heat. The melted butter should foam up and then subside. It will be a golden-brown color when done and smell nice and nutty. Remove from heat and set aside.
  3. In a medium bowl, combine the flour, baking soda, and salt. Set aside.
  4. In the same pan that you browned the butter, toast the walnuts over medium heat. You'll be able to smell them when they are done; set aside.
  5. In the bowl of an electric mixer fitted with the paddle attachment, combine the warm brown butter and sugars on medium-high speed. Slowly add in the egg, egg yolk, and vanilla and beat until combined. The mixture should look very silky and brown. Slowly add the flour mixture in and beat on low speed until just combined. Stir in the walnuts and chocolate chips. The warm mixture should melt the chocolate about half-way so that ribbons of chocolate form throughout the dough.
  6. Scoop 1-2 tablespoon sized balls onto prepared baking sheet. If using, press a square of the specialty chocolate onto the top of each dough ball. (Alternatively, you can press the square into the middle of the dough for a gooey surprise when you bite in!)
  7. Bake for 10-12 minutes until golden (they may appear doughy still but they will be perfect when they set up). Let cool on the baking sheet for 2 minutes before transferring to a rack to cool further.
IMG_0085
IMG_0110

Wednesday, February 2, 2011

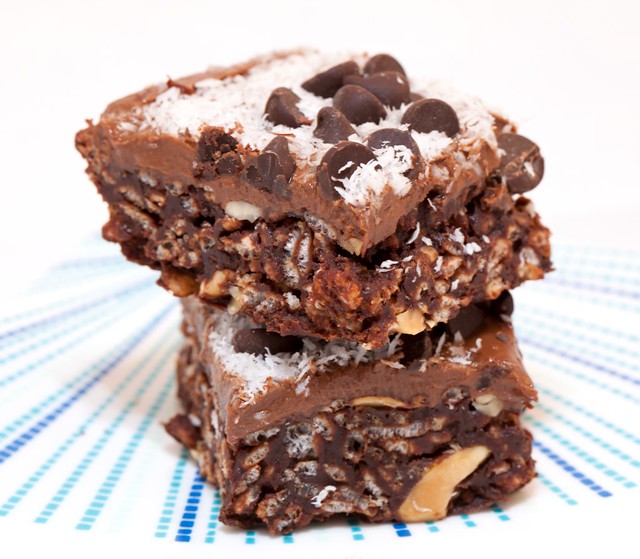
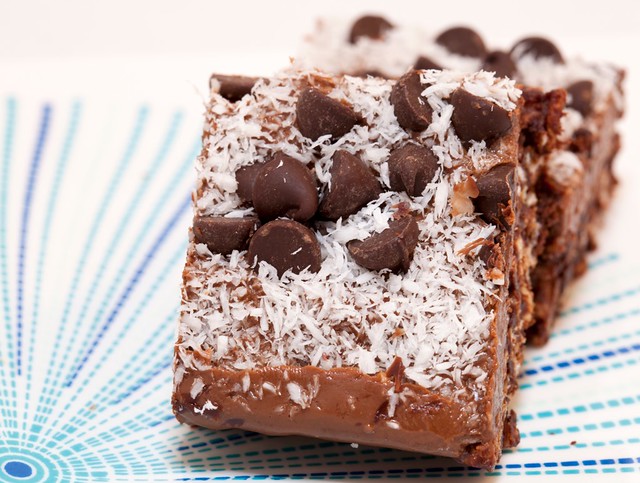
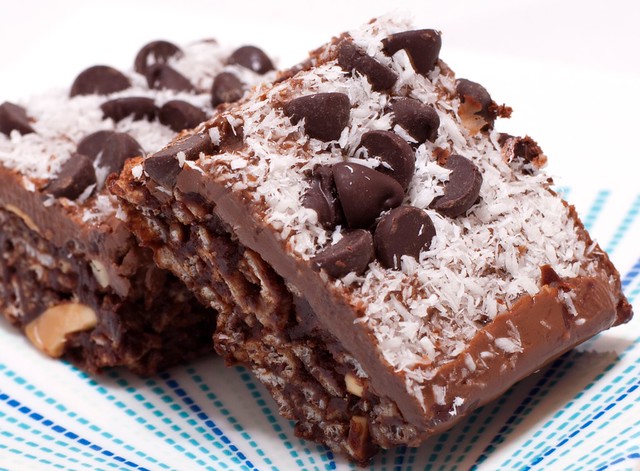
No Bake Chocolate Peanut Butter Crispies (Vegan)

IMG_0074

I'm already slacking with my blog again. Honestly, it's because I'm stressed with school. I've had a lower eyelid twitch on my left eye for the past two and a half weeks that has become more than a little bothersome. However, being stressed is about the worst excuse I could possibly give for not posting because there are only two things that de-stress me: working out and baking. Unfortunately (or fortunately for my waist line?) I have been doing the former.

Anyways, these no bake treats are quite simple to whip up, and it could be reasoned that they are somewhat healthy as they contain only "good" fats- coconut and peanut butter. But, at 200 calories apiece I wouldn't go eating the entire batch :P!

As soon as I saw this recipe over on Oh She Glows, I knew it would be a vegan dessert that even my animal-product-loving boyfriend would devour. I basically just showed him the photo on Angela's blog, without telling him that it included ingredients that make him cringe like almond milk and brown rice syrup, and he was sold. He immediately went to the grocery store and bought me the cocoa powder and dark chocolate chips that I lacked in the pantry. (He still doesn't know they were vegan!)

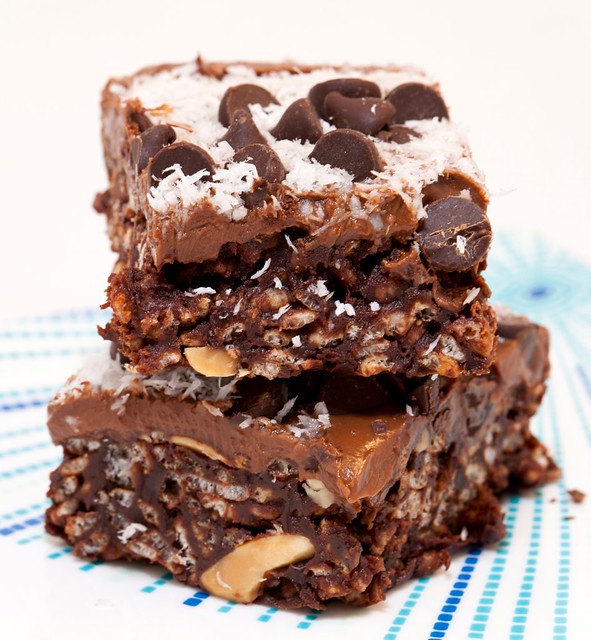
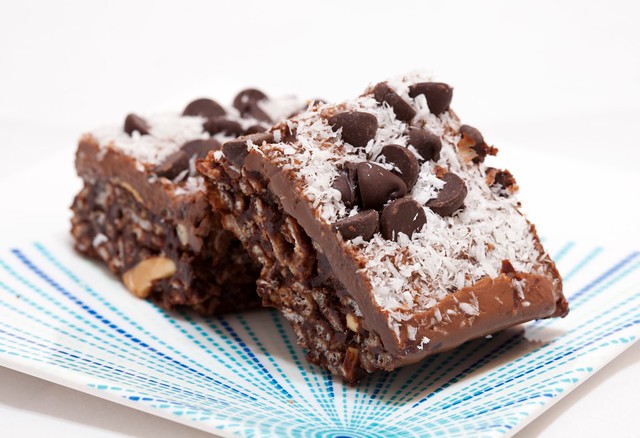
These crispies were quick to make; the only hard part was waiting for them to firm up in the freezer. The homemade chocolate peanut butter topping makes the bars absolutely decadent and deliciously rich. I recommend serving these with One Ingredient Banana Soft Serve for the ultimate combo of chocolate, peanut butter, and banana. (If you haven't heard of this amazing creation storming the blog-o-sphere yet, it is simply frozen bananas whipped in a food processor, NOT blender, until a super creamy ice cream consistency. It literally is EXACTLY like soft serve, you won't believe it. I also suggest you try the banana soft serve with some of the extra chocolate peanut butter blended in :D)

IMG_0064
IMG_0075
IMG_0067

No Bake Chocolate Peanut Butter Crispies
recipe slightly adapted from here
makes 16 bars

ingredients:
  • 1/2 cup natural peanut butter
  • 1/2 cup brown rice syrup
  • 2 tsp pure vanilla extract
  • 1/4 cup unsweetened vanilla almond milk
  • 1/2 cup sifted cocoa powder
  • 1/2 tsp salt
  • 3 cups crisp rice cereal
  • 1/4 cup chopped roasted peanuts
  • 3/4 cup warm Dark Chocolate Peanut Butter (recipe below)
  • 1/2 cup non-dairy dark chocolate chips
  • shredded, unsweetened coconut
  1. Line an 8-inch square baking dish with 2 sheets of parchment paper (one going each way).
  2. In a large saucepan melt together the peanut butter, rice syrup, vanilla, and almond milk over medium-low heat, stirring to combine. Slowly add in the cocoa powder and salt and stir to combine. Pour in the rice cereal and remove from heat. Stir to completely coat the cereal.
  3. Spread the mixture into your lined baking dish. Using a sheet of wax paper, press it down evenly.
  4. Place in the freezer for 10 minutes to firm up. (Now is a food time to make the chocolate peanut butter if you haven't already.)
  5. Remove dish from freezer and pour the chocolate peanut butter over the firm cereal mixture. Spread it around so it coats evenly.
  6. Sprinkle the dark chocolate chips and shredded coconut over the top of the bars.
  7. Place in the freezer for 45 minutes to an hour to set up. Remove from freezer, cut, and serve! (Store bars in the fridge.)
Dark Chocolate Peanut Butter
recipe from here

ingredients:
  • 1 cup natural peanut butter
  • 1/2 cup non dairy dark chocolate chips
  • 1 tsp coconut oil
  • salt, to taste
  1. Melt the chocolate chips and coconut oil together in the microwave fro 30 to 60 seconds.
  2. Stir the chocolate mixture and salt into the peanut butter until combined.

IMG_0054
Related Posts with Thumbnails