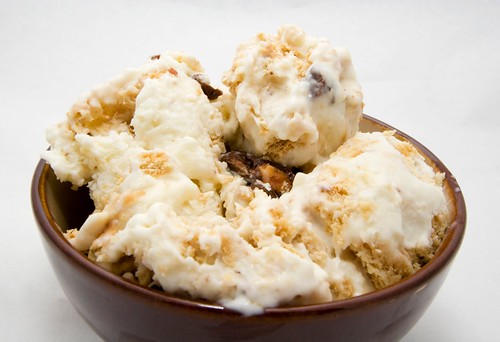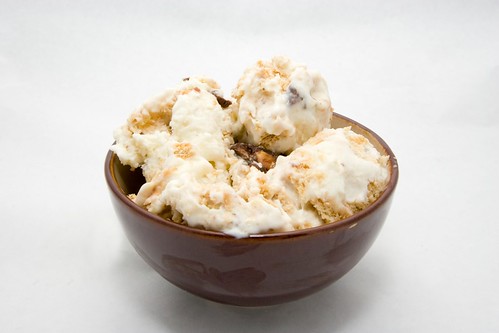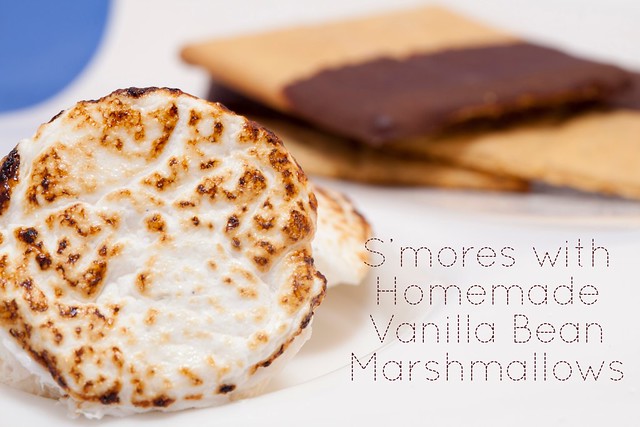
I think that homemade marshmallows are possibly one of the tastiest culinary novelties. No one expects you to actually make your very own, and I'm fairly certain that when most people think of marshmallows they just think of the jet-puffed cylinders in the clear plastic on the baking aisle. Let me just tell you right now, you have not truly enjoyed a s'more if you have been using marshmallows of the store-bought variety. S'mores with homemade marshmallows are on a whole different level (side note: I was about to write "whole nother level," which is something I often say but never thought about. What the heck is a "nother"? Is it short for another? In that case is it "whole another level"? How completely peculiar!!).
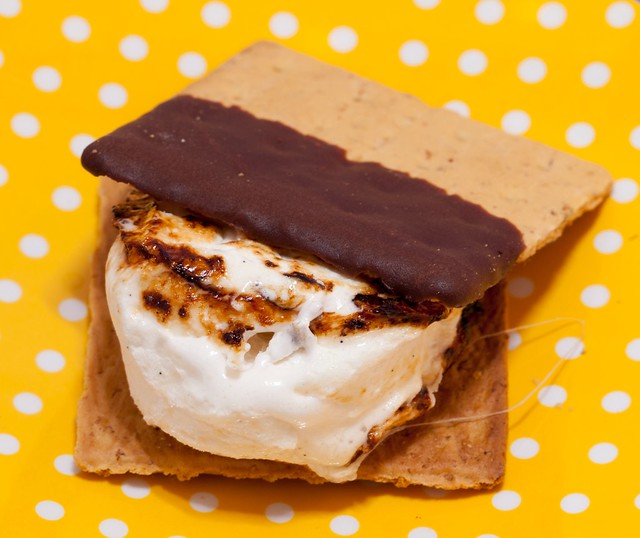
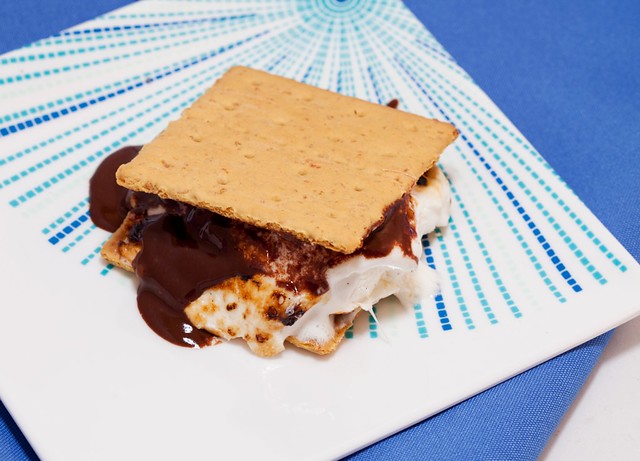
While these marshmallows are positively scrumptious in their un-s'more-ified state (and far better than any store-bought mallow), they are shockingly good when toasted and smashed between two graham crackers. The chocolate component in my s'mores is homemade chocolate ganache. I tried two different methods: 1) I just poured it on the melted mallow and smashed it all between two graham crackers, 2) I dipped half of the graham cracker in the ganache and let it dry. Why the latter version may appear neater, nothing beats a deliciously gooey marshmallow and chocolate mess :P!
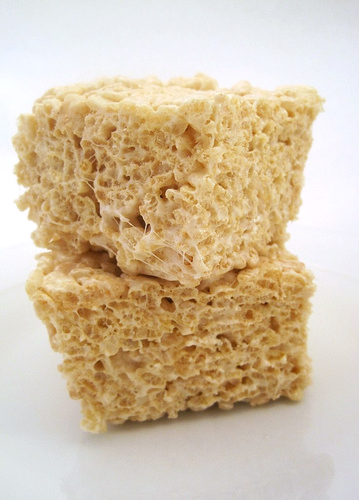
Vanilla Bean Marshmallows
recipe slightly adapted from here
ingredients:
- 1/4 cup confectioners' sugar
- 1/4 cup cornstarch
- nonstick spray
- 3 packages unflavored gelatin
- 1 cup ice cold water, divided
- 1 1/2 cups (298g) granulated sugar
- 1 cup light corn syrup
- 1/4 tsp salt
- seeds scraped from 1/2 vanilla bean
- 1 tsp pure vanilla extract
- Combine the confectioners' sugar in corn starch in a small bowl and set aside.
- Spray a 9'' X 13" pan with nonstick spray. Pour in the sugar/cornstarch mixture and tip the pan to coat all sides. Reserve the excess in a small bowl.
- Place the gelatin in the bowl of an electric mixer fitted with the paddle attachment. Add in 1/2 cup of the water and let stand.
- In a small saucepan, combine the remaining 1/2 cup water, granulated sugar, corn syrup, and salt. Place over medium high heat, cover, and cook for 3-4 minutes until the sugar is dissolved. Do not stir the mixture! Simply swirl the saucepan to distribute. Uncover after the sugar has dissolved and place a candy thermometer into the saucepan. Continue to cook until the mixture reaches 240 degrees (F), 7-8 minutes. Immediately remove from heat.
- Turn the mixture on low and slowly and carefully pour the hot sugar syrup into the gelatin. Once it is all added, increase the speed to high and whip until the mixture is lukewarm and very thick, about 12-15 minutes. Add in the vanilla bean seeds and vanilla extract in the last couple of minutes of mixing.
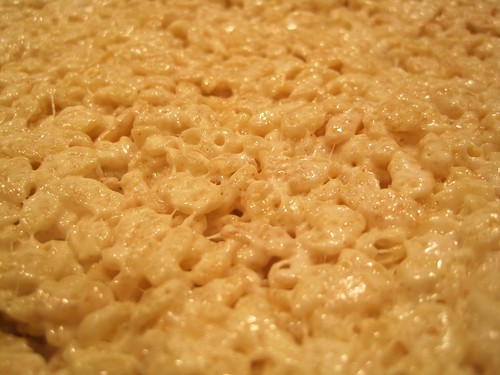
- Scrape the mixture into the prepared pan, using a lightly oiled spatula to spread. Dust the top with enough of the reserved sugar/cornstarch mixture to lightly cover the top. Reserve the remainder. Allow the marshmallows to sit uncovered for at least 4 hours.
- Turn the marshmallows onto a cutting board and cut into desired shapes with either a knife or cookie cutter. Dust all of the sides with the sugar/cornstarch mixture. Store in tupperware.