*Phew*! I got my first of three papers finished this morning! The next is due on Monday, and my final paper (the longest at 10-12 pages) is due on Tuesday. I. CAN'T. WAIT. for this quarter to be over! It's totally been throwing a wrench in my cooking/baking time.
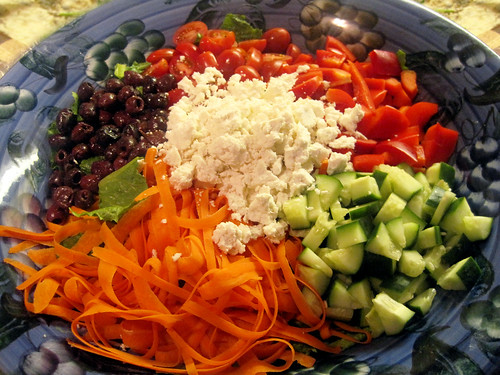
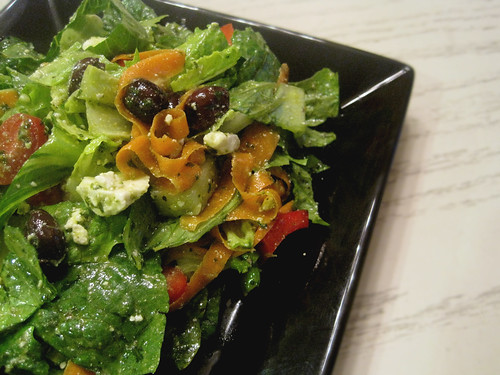
Anyways, on to the food! Last weekend, Mikey and I went to Pike's Place Market to shop for Memorial Day ingredients. Produce stands were completely stocked with gorgeous Spring veggies and the very first produce of Summer. I wanted to take everything home with me but I settled on a few select items--including a bunch a beautiful, local asparagus.
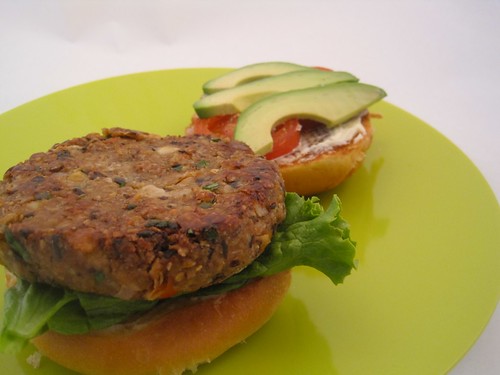
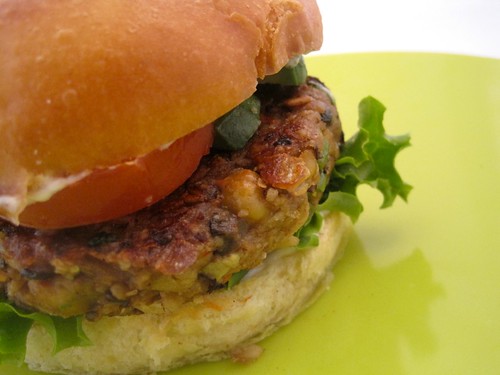
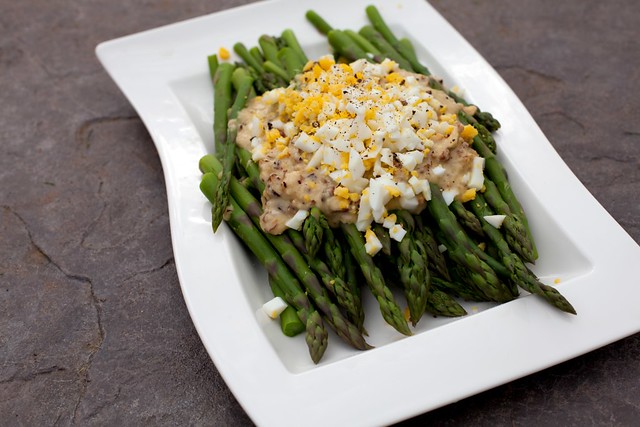
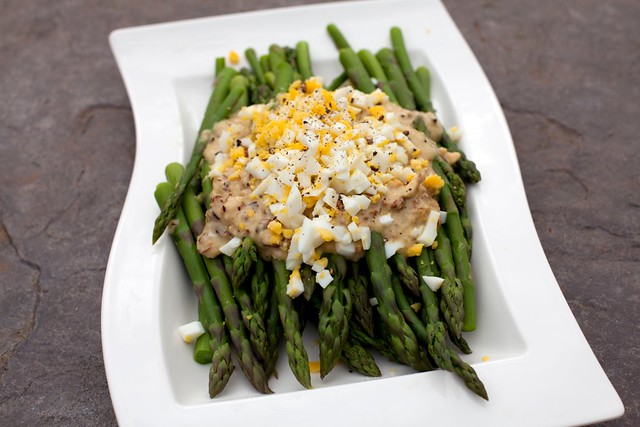
This dish turned out better than great! The asparagus keeps a nice, crisp bite thanks to only being cooked for a couple of minutes, and the creamy, thick, tart vinaigrette and chopped egg are nice counterpoints.
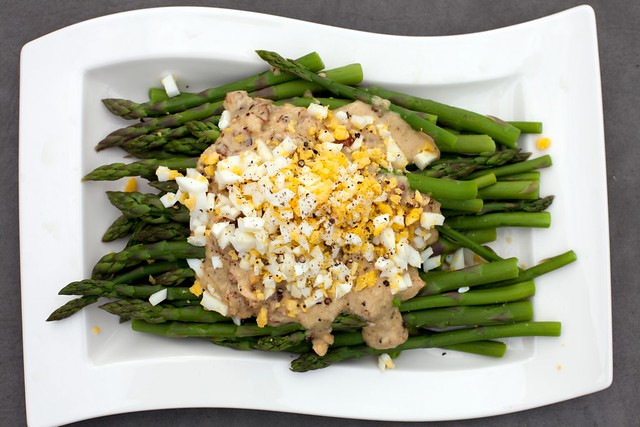
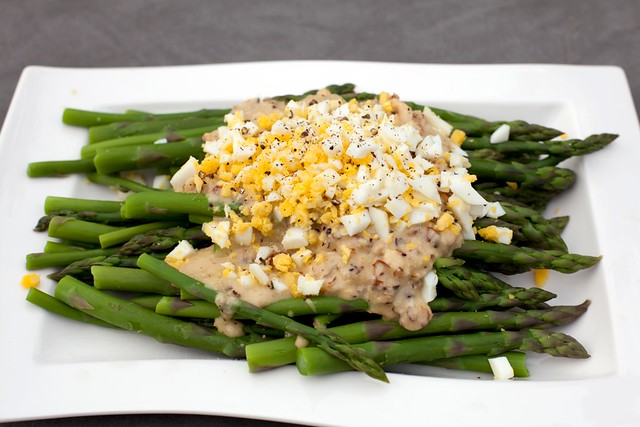
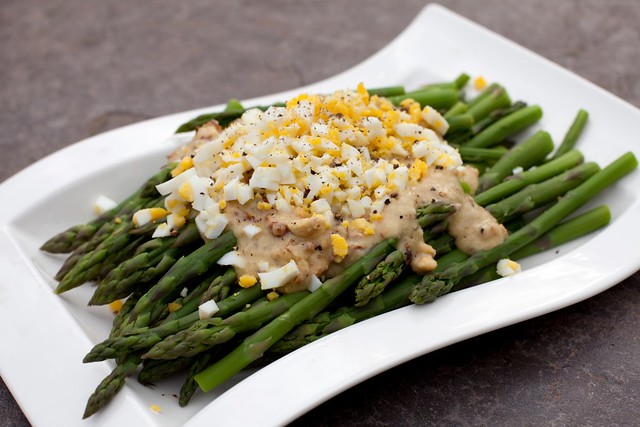
Asparagus with Hazelnut Vinaigrette and Chopped Egg
recipe slightly adapted from here
ingredients:
- 2 lbs asparagus, washed and trimmed
- 1 large hard-boiled egg, chopped
- 1 large shallot
- 2 tbsp sherry vinegar
- 1 tbsp dijon mustard
- 1/2 tsp granulated sugar
- 1/3 cup extra virgin olive oil
- salt and freshly ground pepper, to taste
- 1/4 cup chopped hazelnuts, toasted
- In a food processor, combine the shallot, vinegar, mustard, and sugar. Process until the shallot is minced and everything is combined. Slowly, with the motor running, drizzle in the olive oil until emulsified. Season with salt and pepper and transfer to a bowl and stir in the hazelnuts.
- Bring a large saute pan filled with 2 1/2 inches of salted water to a boil. Add in the asparagus and cook for 2-3 minutes. Drain and transfer to a serving dish.
- Top the asparagus with the hazelnut vinaigrette, chopped egg, and more salt and pepper. Serve!


 .
.