My blog has moved!

You should be automatically redirected in 6 seconds. If not, visit
http://www.spachethespatula.com/
and update your bookmarks.

Showing posts with label pine nuts. Show all posts

Friday, February 25, 2011

Thomas Keller's Lemon Sabayon Tarts with Rosemary and Honey-Mascarpone Whipped Cream

IMG_0253

So remember when I said a few weeks ago that I was going to share the dessert that I made for Mikey's parents' dinner party? Well here it finally is! The reason it took so long is that last time I had no time to photograph the tarts before I handed them over to Amy, Mikey's mom, for her party. So, on Monday, while I had no class due to President's Day, I went over to his parents' home and Amy and I made them again!

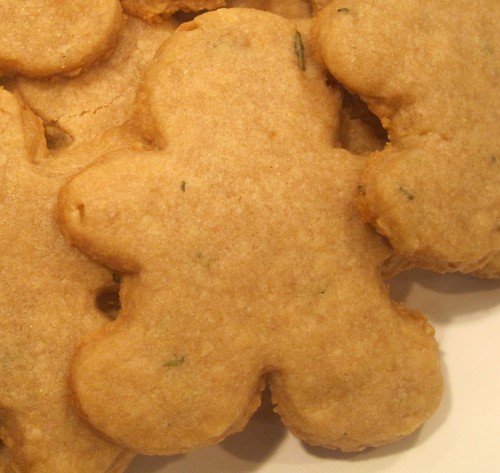
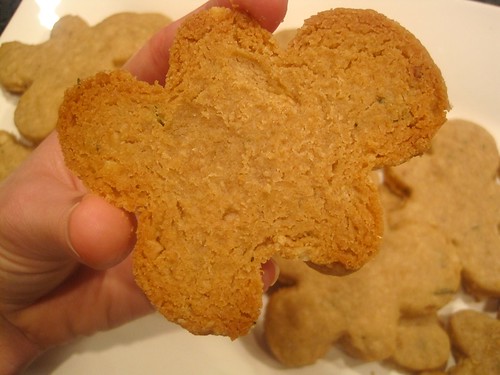
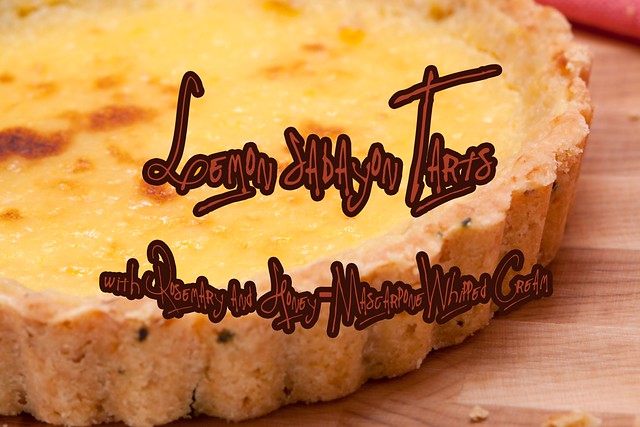
These tarts are tasty and unique, and a wonderful finish to any meal. The best part is that the tartness and freshness from the lemons make them a lot lighter than a chocolate or ice cream dessert. The filling is creamy and smooth, and the pine nuts and rosemary in the crust add a nice earthiness. The honey-mascarpone whipped cream cuts the sourness from the citrus and ties the entire dessert together, leaving you with a dessert that looks and tastes far more sophisticated than it really is ;).

This dessert is fairly easy to make, but, you need to be ready for a workout because you will have to whisk continuously for a good 10-15 minutes. Having to do this twice in one day left my arm feeling like I just lifted weights at the gym! However, the whisking is the only truly difficult part of the recipe, and even that doesn't take any special skill.

I think that it would be fun to experiment with different nuts and herbs in the crust and different citrus in the filling. For instance, a brazil nut and maybe mint crust with a blood orange filling, or keep the pine nut crust and add in grapefruit as the filling! Adding cocoa powder into the crust might even be an interesting alteration.

If you have any extra sabayon, it is positively delectable served over fresh berries!

IMG_0272
IMG_0260
IMG_0279

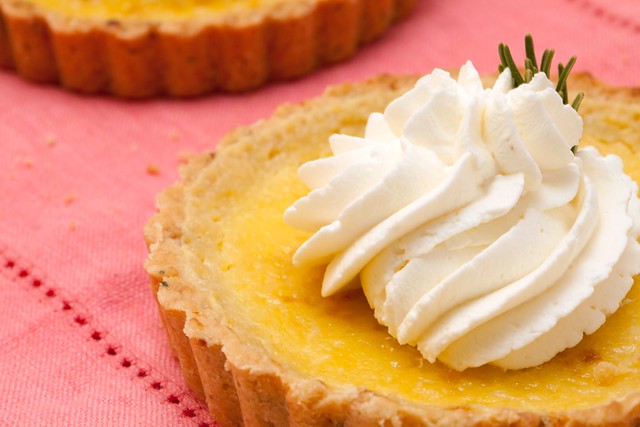
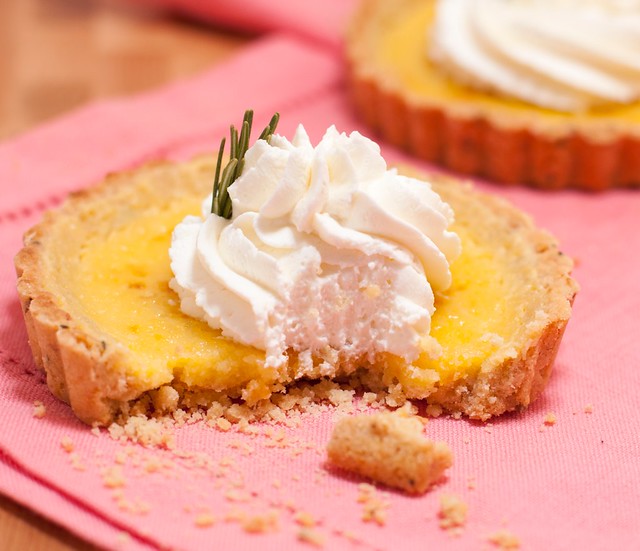
Thomas Keller's Lemon Sabayon Tart with Rosemary
recipe slightly adapted from here
the crust recipe will make enough for 3 large tarts or an array of smaller ones (also, I wouldn't recommend  trying to third the crust recipe as it would be difficult to measure 1/3 of an egg)
the filling is for 1/3 of the crust recipe (I find it's easiest to make the filling in smaller batches)

crust:
  • 10 ounces (2 cups) toasted pine nuts (you simply must toast them; it makes all the difference)
  • 3 sprigs fresh rosemary
  • 1/3 cup granulated sugar
  • 1 lb (3 cups) all-purpose flour
  • 1 tsp sea salt
  • 8 ounces (2 sticks) unsalted butter, at room temperature
  • 1 large egg
  • 1 tsp pure vanilla extract
  1. Place the pine nuts in a food processor and pulse a few times. Add in the sugar, rosemary leaves, salt, and flour and continue to pulse until the nuts are finely ground.
  2. Transfer the mixture to the bowl of an electric mixer fitted with the paddle attachment. Add in the butter, egg, and vanilla extract and mix to incorporate.
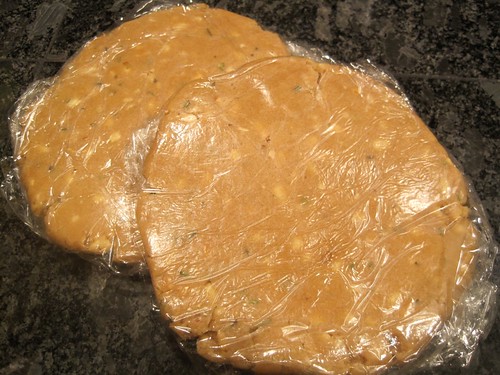
  3. Divide the dough into three equal parts. Wrap each piece in plastic wrap and refrigerate for at least 10 minutes before using. (You can freeze any extra dough for up to a month.)
sabayon & assembly:
  • 2 large eggs, cold
  • 2 large egg yolks, cold
  • 3/4 cup sugar
  • 1/2 cup fresh lemon juice
  • 1-2 tbsp fresh lemon zest
  • 6 tbsp unsalted butter, cold and cut into 6 pieces
  1. Preheat the oven to 350 degrees. Butter and flour (I only buttered and it worked great) a 9-inch fluted tart pan (or rectangular equivalent- or many smaller tart pans) and refrigerate it while the oven preheats.
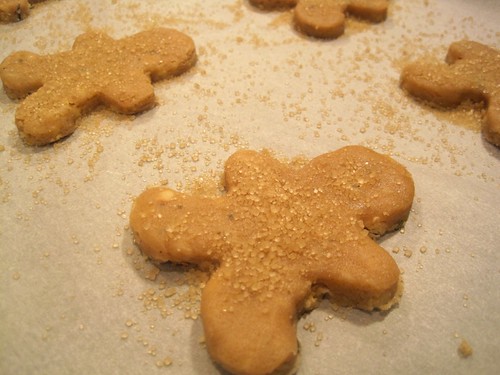
  2. Remove the tart pan from the fridge. Using your fingers, press the chilled dough into the tart pan(s), and up the sides.
  3. Bake the crust for 10 to 15 minutes, then rotate it and bake for 10-15 minutes more until evenly golden-brown. Remove the crust from the oven and let it cool while you make the sabayon filling.
  4. Bring about 1 1/2 inches of water to a oil in a pot that is slightly smaller than the diameter of the bowl you will be making your sabayon in.
  5. In a large metal or glass bowl, whisk together the eggs, yolks, and sugar for about a minute until the mixture is smooth. In a measuring cup, combine the lemon juice and zest; set aside.
  6. Set the bowl over the pot, creating a double boiler, and whisk the mixture vigorously. After about 2 1/2 minutes, when the eggs are foamy and have thickened, add 1/3 of the lemon juice. Continue to whisk vigorously, and after another 2 1/2 minutes when the mixture has thickened again add another 1/3 of the lemon juice. Again whisk for another 2 1/2 minutes and then add the final 1/3 of lemon juice. Whisk for 2-3 minutes until the mixture has thickened and is light in color. You can judge if it's thick enough by placing a wooden spoon in the mixture, taking it out, and running your finger down the back of it. If the trail left by your finger stays, it is thick enough.
  7. Turn off the heat and leave the bowl over the water. Whisk in the butter, a piece at a time.
  8. Pour the warm sabayon into the tart crust and place the tart pan on a baking sheet.
  9. Preheat the broiler. While the sabayon is still warm, place the tart under the broiler. Leaving the door of the oven open, brown the top of the sabayon, rotating if necessary to get an even color. (This won't take very long, so DON'T walk away!)
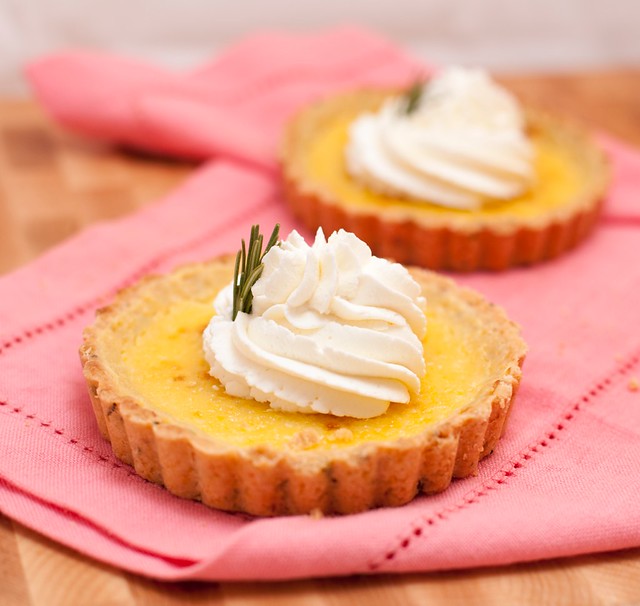
  10. Let the tart sit for at least an hour before serving. (I served mine at room tempeature but you could, alternatively, serve it chilled.) Serve with Whipped Honey-Mascarpone Cream recipe below).
Honey-Mascarpone Whipped Cream

ingredients:
  • 1 cup heavy whipping cream
  • 6 tbsp mascarpone
  • 2-3 tbsp honey
  1. Combine all ingredients in a bowl and whip until stiff peaks.
IMG_0277

Monday, August 2, 2010

Pine Nut and Black Pepper Granola with Figs and Goat's Milk Yogurt

IMG_3124


I am an absolute granola nut. I freakin' love the stuff, and I am all about a complex, jam-packed mix. I like it loaded with all sorts of goodies: nuts, seeds, fruit, grains, etc., but this incredibly simple and uncomplicated granola blew me away. I have zero idea how a granola with only 6 ingredients (that includes salt and pepper!) can taste so unbelievably complex and wonderful and yet, this slightly spicy and sweet mix swept me off my feet and left me swooning. The small amount of butter and sugar form a wonderful caramel coating over the individual oats and nuts which is absolutely addictive!


Everyone knows that goat cheese and figs are a match made in heaven, but have you ever tried figs and goat's milk yogurt? Oh my.... it is purely sublime. Add in the spicy pine nut granola and you are left with the most amazing way to start off your day (though I must admit I've also had it for lunch, snacks, and dessert). This dish is basically texture heaven. You get the cool, creamy yogurt against the warm, soft figs, and finally the crunchy granola.


All I can say is, you simply must try this dish. It couldn't be easier and yet the flavors are incredible. I'll stop tying to convince you now and just let the photos speak for themselves :).


IMG_3127
IMG_3130


Pine Nut and Black Pepper Granola with Figs and Goat's Milk Yogurt
This is more of an outline than a recipe. This is just what I use for myself.

ingredients:
  • 1/4 cup Pine Nut and Black Pepper Granola (recipe below)
  • 1/4 cup goat's milk yogurt (I used a variety with added honey but you could use plain and drizzle actual honey on top, or just skip it altogether)
  • 2 fresh figs, quartered (I used Black Mission)
  • 1 tsp olive oil
  1. Heat the oil in a small pan over high heat. Add the figs and saute for about 4-5 minutes or until they begin to caramelize.
  2. Add the yogurt and granola to a bowl and top with the figs. Eat up!
Pine Nut and Black Pepper Granola
recipe from August 2010 issue of Cooking Light

ingredients:
  • 2 tbsp unsalted butter
  • 3 tbsp brown sugar
  • 1 3/4 cups rolled oats
  • 1/4 cup pine nuts, toasted
  • 1/2 tsp freshly ground black pepper
  • pinch of sea salt
  1. Preheat oven to 325 degrees. Line a baking sheet with parchment paper; set aside.
  2. In a large skillet or dutch oven, melt the butter over medium-high heat. Add in the sugar and cook for about 2 minutes until the sugar lightly browns. Add in the nuts, oats, salt, and pepper. Stir and cook for 2 more minutes.
  3. Spread the mixture in a thin layer onto the lined baking sheet. Bake for 16 minutes, stirring after 8 minutes. Cool completely.
IMG_3132
IMG_3123

Tuesday, December 1, 2009

Pine Nut Rosemary Shortbread

IMG_0748


When I first came across these pretty little cookies I just knew I needed to bake these as holiday gifts. We all know I love shortbread, and I thought that the rosemary would give a winter-y flavor to them.
These cookies turned out fantastic! The nutty flavor of the browned butter in the shortbread really compliments the pine nuts, and the rosemary imparts a really unique, tasty bite. Also, I recommend trying at least one just out of the oven when it's nice and warm and crumbly- absolute bliss!
I'm glad I made a test batch to make sure they would be delicious, because now I can bake up a few batches and wrap them up in cellophane and tie them with pretty ribbon- instant Christmas goodies!


IMG_0752
I love how you can see the hunks of pine nut and rosemary, very rustic.

IMG_0756
Oh. My. Goodness. Just look at that perfect, golden-brown, buttery bottom.


Pine Nut Rosemary Shortbread
recipe from here

ingredients:
  • 2 cups white whole-wheat flour
  • scant teaspoon salt
  • 1 cup unsalted butter, at room temperature
  • 2/3 cup granulated sugar
  • zest of one lemon
  • 2/3 cup pine nuts, toasted and coarsely chopped
  • 1 1/4 tsp fresh rosemary, finely chopped
  • turbinado sugar, for sprinkling (optional)
  1. In a small bowl, combine the flour and salt and set aside.
  2. In the bowl of an electric mixer fitted with a paddle attachment, cream the butter, sugar, and lemon zest until light and fluffy. Add in the flour mixture, pine nuts, and rosemary and mix until just combined (though in my experience, I tend to think shortbread is actually better when it's "over-mixed").
  3. Turn the dough out onto a floured work surface and knead a couple of times so that it just comes together. Roll it into a ball and divide that ball in two. Flatten each half into a 1 inch disk and wrap in plastic wrap and refrigerate for at least 15 minutes. IMG_0711
  4. Preheat the oven to 350 degrees. Line a baking sheet with parchment paper or a silicone baking mat.
  5. Roll the dough out on a lightly floured surface to 1/4 inch thick. Using  cookie cutter, stamp out shapes and place on lined baking sheet. Sprinkle cookies with turbinado sugar if you so desire (I sprinkled half of mine and left the other half plain). IMG_0724
  6. Bake for around 10 minutes, or until the cookies begin to turn golden on the bottom. Let cool on a wire baking rack.
IMG_0751
Related Posts with Thumbnails