My blog has moved!

You should be automatically redirected in 6 seconds. If not, visit
http://www.spachethespatula.com/
and update your bookmarks.

Showing posts with label bread. Show all posts

Tuesday, June 21, 2011

Strawberry-Pistachio Rolls


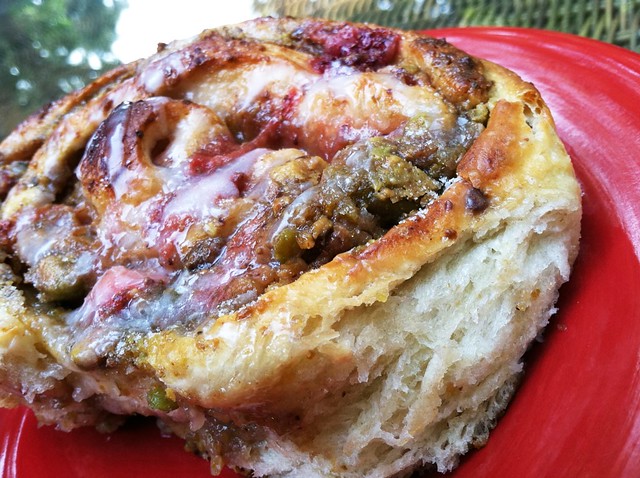
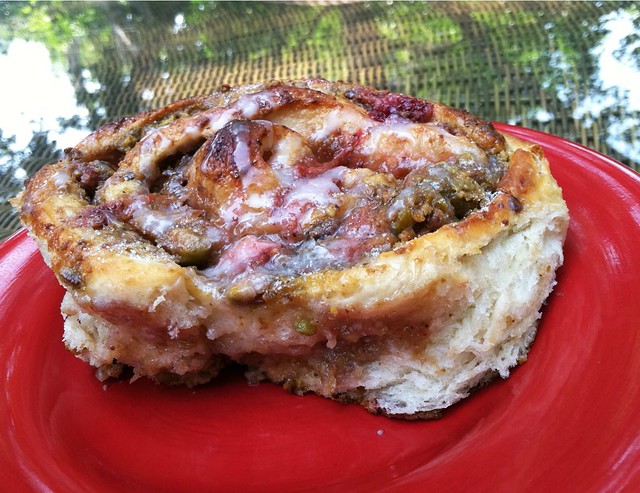
I'll start by saying sorry for the pictures as they were taken with my iPhone. But, the exciting part of that is that I FINALLY HAVE AN iPHONE! Yayyy! I made these rolls in Florida where I didn't have my amazing photographer there to help me out.

I love experimenting with different sweet rolls (like these Meyer Lemon Sweet Rolls), so when I saw these on Kaitlin's blog, Whisk Kid, I knew I had to give them a try. If you're wondering, they are just as good as they look. The sweet strawberry and pistachio fillings play off each other, creating an amazing harmony of salty/sweet-fresh/rich flavors that make it quite easy to down an entire roll (which are about the size of your entire hand) all by yourself (not to mention the fact that the red and green look beautiful together).

While these are still amazing cooled, I find them to be at their peak enjoyment state when they are nice and warm out of the oven. I mean a) who doesn't love warm bread in any situation? and b) the fillings are all gooey and oozing about in the most delicious way.

I think it would be a wonderful idea to add a whole vanilla bean in there somewhere, perhaps in the strawberry filling, just to really put these babies over the top. Someone try it and report back?

pre-bake obviously:

Strawberry-Pistachio Rolls
recipe slightly adapted from here

Dough:
ingredients:
  • 2 1/2 tsp active dry yeast
  • 1/2 cup lukewarm water
  • 66g (1/3 cup) granulated sugar
  • 1/2 milk, warmed
  • 78g (1/3 cup) butter, unsalted, melted and cooled to room temperature
  • 1 large egg, at room temperature, beaten
  • 1 tsp salt
  • more or less 500g (4 cups) flour
  • extra sugar for sprinkling
  1. In the bowl of an electric mixer fitted with the paddle attachment, combine the yeast, water, and sugar. Let sit for 5 to 10 minutes until the yeast is activated (the top should be foamy).
  2. Add in the milk, butter, egg, and salt, and mix to combine. Add in the flour, 1/2 cup at a time, until the dough pulls away from the bowl. Switch to the bread hook attachment and mix, on high, for 15 minutes.
  3. Dump the dough into a buttered bowl. Cover with plastic wrap and allow to rise in a warm area for about an hour, until doubled in size.
  4. Turn the dough out onto a lightly floured surface and roll into a 10 x 24 inch rectangle. Spread with the two fillings (recipes below), leaving a 1 inch border on each side. Tightly roll the rectangle up, and slice into 10+ rolls.
  5. Preheat oven to 350 degrees. Butter a pie dish (or individual ramekins, etc.) and place the rolls in, leaving a bit of space between each (DO NOT stuff your pan as the rolls will rise again and overflow the pan.... I'm speaking from experience here people).
  6. Allow to rise again for about an hour. Sprinkle the tops with sugar and bake in the oven for 25-30 minutes until golden-brown and baked through. (You can drizzle the tops with a simple glaze made from confectioners' sugar and milk if you desire, which you should, because it looks nice :).)
Strawberry Filling:
ingredients:
  • 1 pint strawberries, hulled and quartered
  • 50g (1/4 cup) granulated sugar
  • 1/2 tsp salt
  • 1-2 tbsp fresh lemon juice
  • 1 tbsp cornstarch
  1. Combine all ingredients in a small saucepan and cook on medium heat for about 15 minutes, stirring frequently, until the berries have slightly broken down and the mixture is thickened.
  2. Cool and set aside.
Pistachio Filling:
ingredients:
  • 128g (1 cup) pistachios, roasted and salted
  • 50g (1/4 cup) granulated sugar
  • 1/2-1 tsp pure vanilla extract
  • 28g (2 tbsp) butter, unsalted, at room temperature
  • 1 large egg, at room temperature
  1. Place all ingredients into the bowl of a food processor and process until the mixture is a thick paste.
  2. Set aside.

Saturday, February 5, 2011

Meyer Lemon Sweet Rolls

IMG_0136 copy


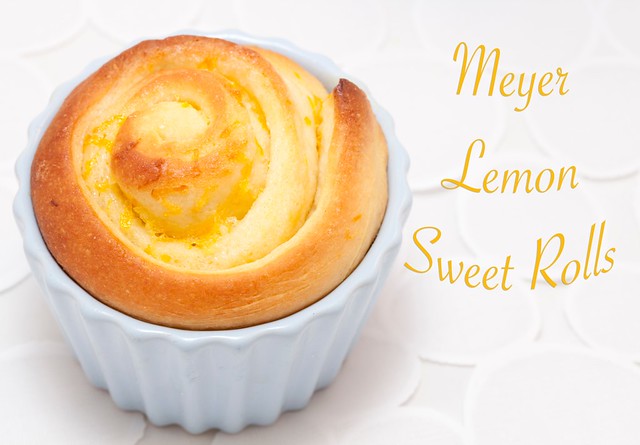
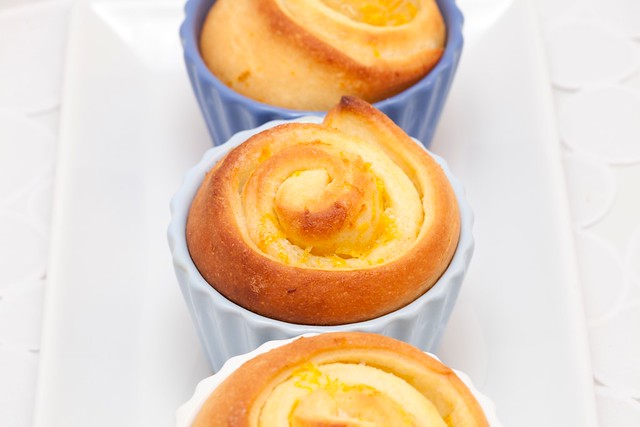
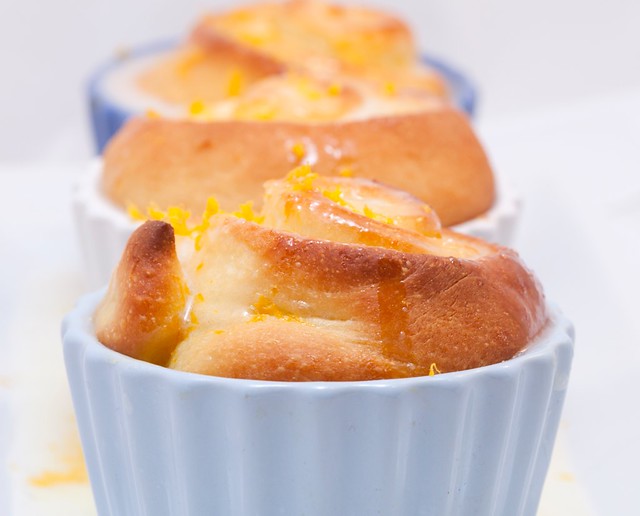
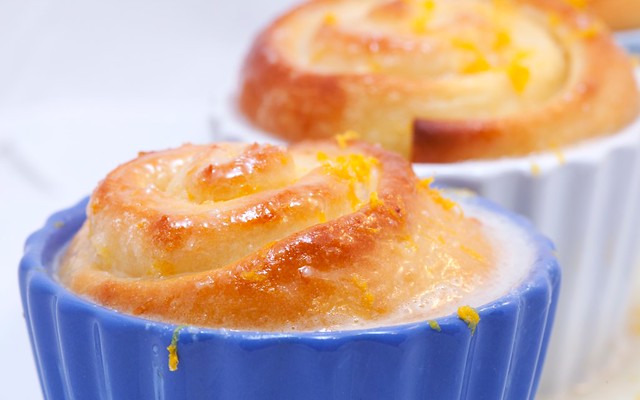
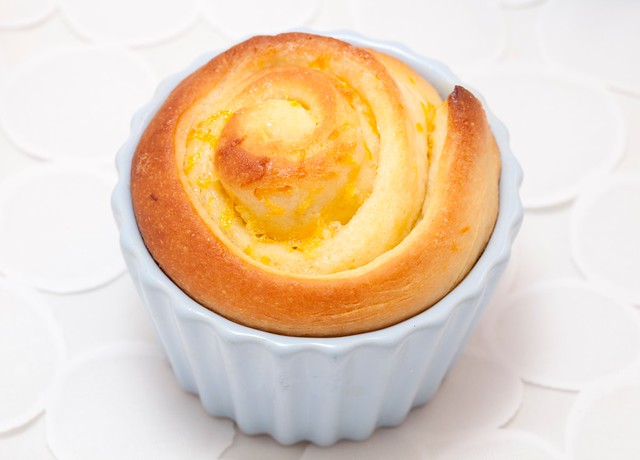
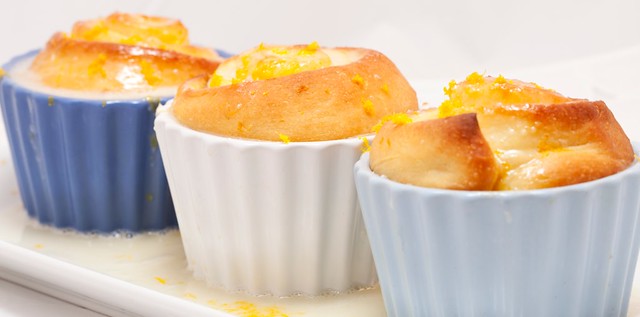
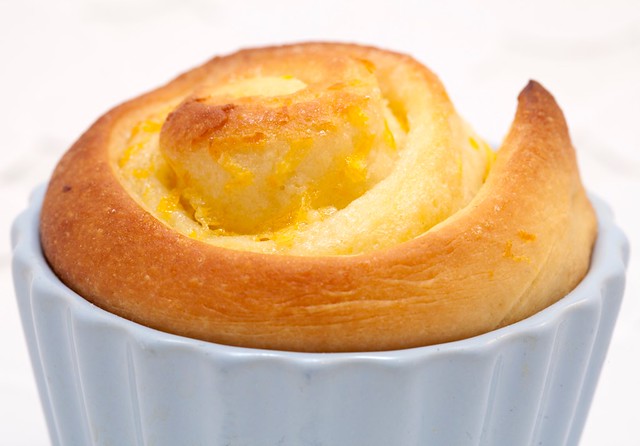
I'll start off by stating the obvious- these are NOT low-calorie rolls. However, they ARE the kind of treat to make on a lazy weekend morning with a couple of friends or, perhaps your kids. Additionally, they are so amazingly scrumptious that you will take one bite and no longer trouble yourself with trifling matters such as: Will I need to spend an extra hour working out? Do I care if I gain weight just looking at these? No, none of this matters anymore when the warm, gooey, tart, and sweet morsel hits your mouth- everything is now right in the world.

These rolls, while time-intensive, are quite simple to make. Whenever I'm baking with yeast, I always am afraid that I am going to do something wrong and the bread won't rise or something of the sort, but I have yet to fail with yeast and am rapidly coming to the realization that maybe my stigma surrounding it is completely unfounded. Now that I know how easy these rolls are to make, and more importantly, how hard they are to get wrong, I can't wait to experiment with various different filling combos as well as the traditional cinnamon roll!

If you have the time, I highly suggest that you try out these rolls. You will not be disappointed by the crisp exterior, the ooey-gooey center, or the creamy, tart glaze. In fact, these rolls are well worth waking up early to make :)!

IMG_0157
IMG_0142
IMG_0151
IMG_0155

Meyer Lemon Sweet Rolls
recipe from slightly adapted from here
makes about 2 dozen rolls (depending on how you roll/cut them)

ingredients:

rolls:
  • 2 cups warm water
  • 2 tbsp dry yeast
  • 2/3 cup instant nonfat dry milk powder
  • 1/2 cup granulated sugar
  • 2 tsp kosher salt
  • 1/2 cup unsalted butter, softened
  • 1 large egg
  • about 5 1/2 cups all-purpose flour
filling:
  • 1 cup unsalted butter, melted
  • 1 cup granulated sugar
  • zest of 6 Meyer lemons
glaze:
  • 8 oz. block cream cheese
  • juice of 6 Meyer lemons
  • pinch of kosher salt
  • 6 cups powdered sugar
  1. In the bowl of an electric mixer, stir together the warm water and yeast and allow to proof for around 10 minutes. It will get kind of foamy on top when it's done.
  2. To the yeast/water mixture, add in the milk powder, sugar, and salt. With the paddle attachment, stir together on low speed. Add in the softened butter and egg and combine.
  3. Slowly add in the flour, 1 cup at a time until the dough is soft but not sticky (you may need a little more or less flour that I used). Increase the mixer speed to high and mix the dough for about 5 minutes until it pulls away from the sides of the bowl and begins to climb the paddle.
  4. Remove the dough from the bowl and knead a few times on a floured work surface. Set the dough into a large greased bowl and cover with plastic wrap. Set in a warm place to rise for an hour.
  5. Cut the risen dough into thirds. Using a rolling pin, roll 1/3 of the dough into a rectangle 1/4-1/2 inch thick. Spread the dough with 1/3 cup of the butter, 1/3 cup of granulated sugar, and the zest of 2 lemons. Carefully roll the dough up tightly and cut into 1 1/2 inch rolls. Repeat with the rest of the dough.
  6. Preheat the oven to 275 degrees. Place the rolls on a large baking sheet or individual baking cups. Set on top of the preheating oven to rise for about half an hour. Bake for 16-18 minutes until golden brown.
  7. While rolls are baking combine glaze ingredients in a large bowl and beat until combined. Pour or drizzle over warm rolls.
IMG_0135
IMG_0153
IMG_0130

These sweet rolls are featured in a linky party at Sweet Rolls that Rock! Click the button below to check out some more tasty and unique sweet rolls!
  Sweet Rolls that Rock 

Tuesday, November 30, 2010

Bubble-Top Brioche Rolls

IMG_7268


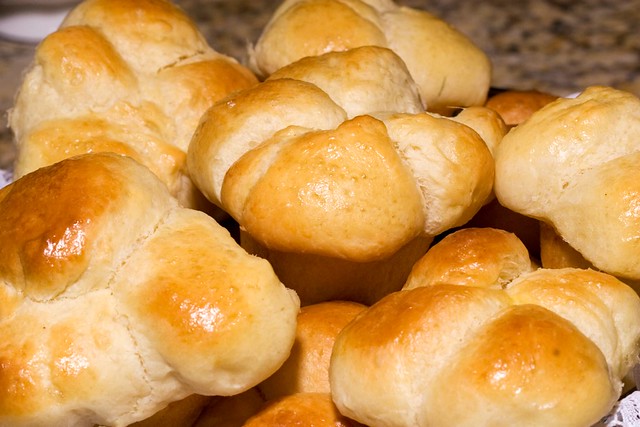
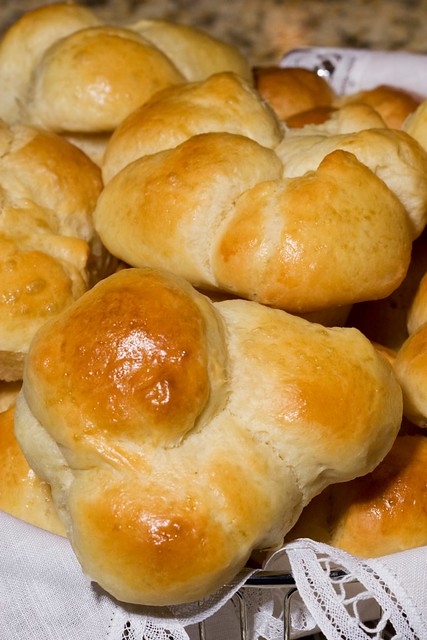
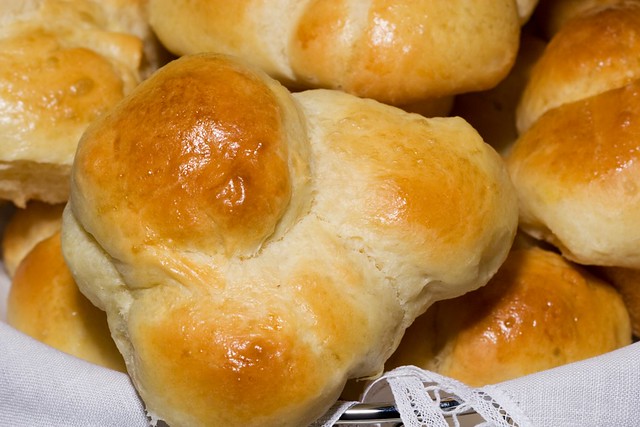
Out of all of the things that I made for Thanksgiving dinner, it was these that I was the most proud of! Having never ever made bread before (or anything including yeast aside from this Gooey Butter Cake), I was positively thrilled with the final result!


I've always been desperately afraid of making bread because I thought it seemed far too complicated and I was sure that I would screw it up, but after making these, I am convinced that it is far easier than I ever imagined!


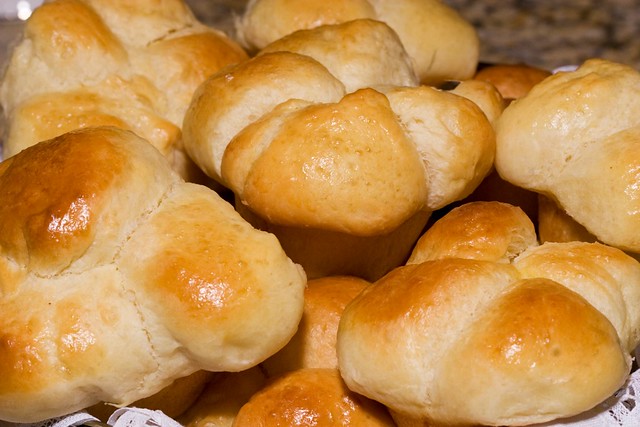
These rolls were, in my opinion (and Mikey's), perfect. They were pillowy-soft, slightly sweet, and gorgeously golden-brown. After my success with these rolls, I can't wait to try my hand at all sorts of bread recipes. On my immediate list is: cinnamon rolls, pizza dough, and Christmas Stollen.


Though this dough requires quite a bit of babysitting (as you have to pretty much be around to watch it for 4 hours after making it), it is worth all the effort!


IMG_7265
IMG_7266


Bubble-Top Brioche Rolls
recipe from here
makes 24 rolls

ingredients:
  • 1/2 cup warm water (110-115 degrees)
  • 1/2 cup warm whole milk (110-115 degrees)
  • 2 tbsp active dry yeast
  • 5 1/2 cups all-purpose flour
  • 1 tbsp salt
  • 6 large eggs, room temperature
  • 1/4 cup + 2tbsp granulated sugar
  • 3 sticks (1 1/2 cups) unsalted butter, at room temperature
  • 2 large eggs beaten with 2 tsp water, for glaze
  1. Combine the water and milk in the bowl of an electric mixer fitted with the paddle attachment. Sprinkle the yeast over and stir to fully moisten. Let stand for about 8 minutes, stirring occasionally.
  2. Add in the flour and salt to the yeast mixture. Blend at medium-low speed for 1-2 minutes, until shaggy lumps form (though the term "shaggy lumps" confused me at first, I knew exactly what it meant when it happened and hopefully you will too).
  3. Add in the eggs one at a time, beating until blended after each addition. Increase the mixer speed to medium and beat until the dough is smooth, about 3 minutes.
  4. Reduce the speed to low and add in the butter one tablespoon at a time, blending after each tablespoon (this process may take a while).
  5. Increase the mixer speed to medium-high and beat until the dough pulls away from the sides of the bowl and climbs the paddle, 8 to 9 minutes.
  6. Butter a large bowl. Scrape the dough into the bowl and cover the bowl tightly with plastic wrap. Let the dough rise in a warm place until it has doubled in size (I put mine by the fireplace!).
  7. Gently deflate the dough by lifting around the edges and letting the dough fall back into the bowl.
  8. Cover the bowl tightly with plastic wrap and place in the refrigerator, deflating the dough the same way every 30 minutes until t he dough has stopped rising, an hour and a half to two hours. Chill overnight.
  9. When ready to bake, butter 24 standard muffin cups. Divide the dough into 24 equal pieces and cut each piece into thirds. Roll each small piece into a ball. Place 3 balls in each muffin cup. Cover the muffin tins with waxed paper and place in a warm area to rise for 50-60 minutes until almost doubled.
  10. Preheat oven to 400 degrees. Brush the top of each roll with the egg glaze, being careful not to let the glaze drip down between the dough and pan.
  11. Bake the rolls until golden, about 20-25 minutes. Cool rolls for 10 minutes before serving.
IMG_7267
IMG_7264

Sunday, May 2, 2010

Dark Chocolate Peanut Butter Banana Bread

IMG_6203


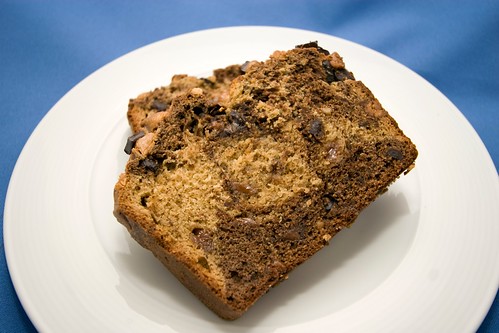
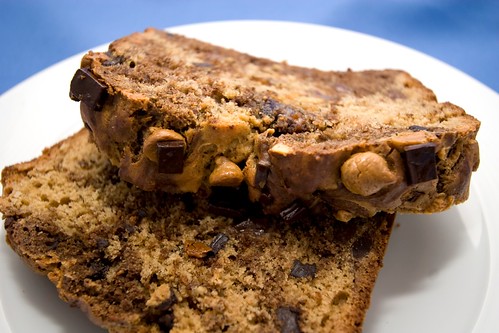
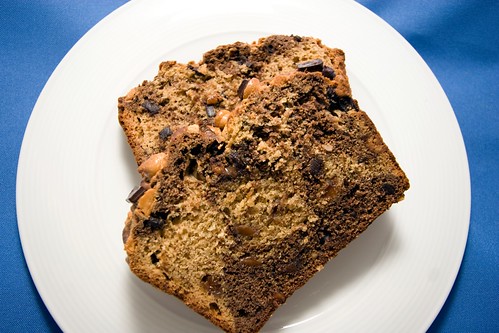
If you haven't noticed yet, chocolate and peanut butter are two of my very favorite flavors; however, when combined, the flavor produced may just be the best flavor ever. Add some banana in there and you have a combination that can only be described as sensational!
Sugar Plum is quickly becoming my very favorite blogger. All of her recipes are right up my alley and have yet to disappoint! This Chocolate-Peanut Butter Banana Bread of hers is extraordinary!
There is a one-two punch of peanut butter in this bread- first you have the actual peanut butter itself mixed in the batter, and then you have delicious gems of peanut butter chips throughout!
I recommend eating this banana bread nice and warm out of the oven with a tall glass of ice cold milk. You could even spread a little butter on your piece so it gets all melty and seeps down into the bread- mmm, sinful yet oh-so-satisfying!


IMG_6210
IMG_6207


Dark Chocolate Peanut Butter Banana Bread
recipe from here

ingredients:
  • 2 1/3 cups all-purpose flour
  • 1 tsp baking powder
  • 1 tsp baking soda
  • 1/2 tsp sea salt
  • 1/3 cup dark chocolate chunks + more for sprinkling
  • 1/3 cup peanut butter chips + more for sprinkling
  • 2 rather ripe bananas
  • 3/4 peanut butter (I used a mixture of creamy and chunky)
  • 1/2 cup granulated sugar
  • 1/2 cup packed brown sugar
  • 2 large eggs
  • 1 1/2 tsp vanilla extract
  • 1/2 cup milk
  • 1/4 cup unsweetened cocoa powder
  1. Preheat oven to 350 degrees. Butter and flour a 9-inch loaf pan and set aside.
  2. In a medium bowl, combine the flour, baking powder, baking soda, and salt. Stir in the chocolate chunks and peanut butter chips so they are coated.
  3. In the bowl of an electric mixer fitted with a paddle attachment, beat together the bananas and peanut butter until creamy. Add in the sugars and beat for an additional minute or two. Add in the eggs and vanilla and beat until combined. Reduce the mixer speed to low and alternately add in the flour mixture and the milk- beginning and ending with the flour.
  4. Pour half of the batter into another bowl and beat in the cocoa powder.
  5. Alternately add spoonfuls of each batter to the prepared pan. Swirl a butter knife through the batter to create a marbled effect. Sprinkle the top with more chocolate chunks and peanut butter chips.
  6. Bake for 60-65 minutes or until a toothpick inserted into the center comes out with moist crumbs attached.
IMG_6209

Monday, October 26, 2009

Cornbread Salad with Buttermilk-Lime Dressing

IMG_0230

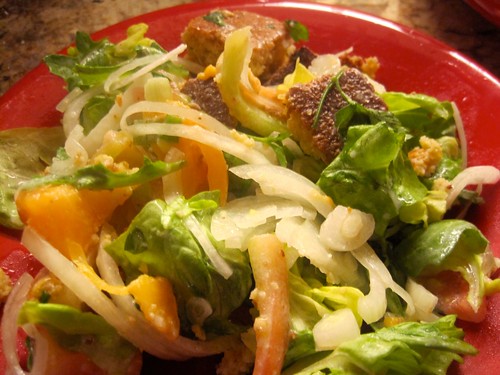
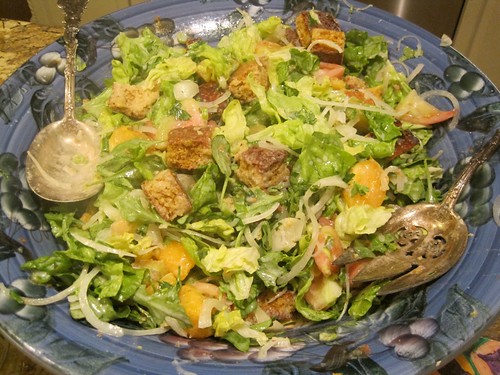
This is another one of those recipes that I have had bookmarked forever, but still hadn't got around to making. After I had my plane ticket home, I knew that I would be doing a TON of cooking back in Florida so I was sure to add this recipe to the menu.
The salad was quite scrumptious and the dressing added a multitude of delicious flavors from the many herbs as well as the sweetness imparted from the honey offset by the tartness of the vinegar and lime. Additionally, the texture the peeled tomatoes provide is really something beautifully different. The cornbread itself is really tasty and I would definitely bake up some of it again just to nosh on with a little butter smeared on a piece piping hot from the oven!

Cornbread Salad with Buttermilk-Lime Dressing
recipe from Smitten Kitchen who adapted it from here

Cornbread Salad:
ingredients:
  • 1 recipe Crispy Cornbread, 3 cups of 1 inch cubes (see below)
  • 1 1/2 lbs ripe tomatoes (I used heirloom)
  • 6 cups roughly-torn, sturdy lettuce (such as Bibb or Boston)
  • 1 large Vidalia onion, sliced into very thing rings
  • 1 recipe Buttermilk-Lime Dressing (see below)
  1. Preheat oven to 250 degrees. Scatter the cornbread in a single layer on a baking pan and bake until the pieces are lightly toasted, about 7 minutes.
  2. Cut an X in the bottom of each tomato and blanch in a large pot of boiling water for 10 seconds. Immediately transfer to an ice bath to cool. Pell the tomatoes and chop them.
  3. Place lettuce greens, cornbread, onion, and tomatoes in a large bowl and toss to combine. Drizzle with dressing and season with salt and pepper. Toss once more and serve immediately.
IMG_0221

Crispy Cornbread:
ingredients:
  • 1 tbsp unsalted butter
  • 1 1/2 cups stone-ground cornmeal
  • 1 tsp baking powder
  • 1 tsp baking soda
  • 1/2 tsp salt
  • 1 tsp sugar
  • 1 large egg
  • 1 1/2 cups buttermilk
  • 2 tbsp unsalted butter


  1. Preheat oven to 450 degrees. Grease a 12-inch skillet with 1 tbsp of butter and place into the oven.
  2. In a large bowl, whisk the dry ingredients together.
  3. In a medium bowl, whisk the egg until frothy and then whisk in the buttermilk.
  4. Add the wet ingredients to the dry ingredients and mix thoroughly.
  5. Melt the remaining butter in the microwave and mix into the batter.
  6. While the butter in the skillet is smoking, carefully remove the skillet from the oven and swirl the butter around to coat the bottom and sides evenly. Pour the batter into the skillet; it should "sizzle alluringly."
  7. Bake for 15 minutes, or until the top of the bread is golden brown and the edge has pulled away from the sides of the skillet.
  8. Let cool and reserve for salad.
IMG_0218

Buttermilk-Lime Dressing:
ingredients:
  • 3/4 cup buttermilk
  • 5 tbsp freshly squeezed lime juice
  • 2 tbsp olive oil
  • 1 tbsp apple cider vinegar
  • 1 tbsp honey
  • 1/4 cup finely minced fresh basil
  • 1/4 cup finely minced fresh flat-leaf parsley
  • 1/4 cup finely minced green onions
  • 1/2 tsp salt
  1. Whisk all of the ingredients together in a small bowl until combined.
  2. Cover tightly and store in the refrigerator for up to two days.

Thursday, October 8, 2009

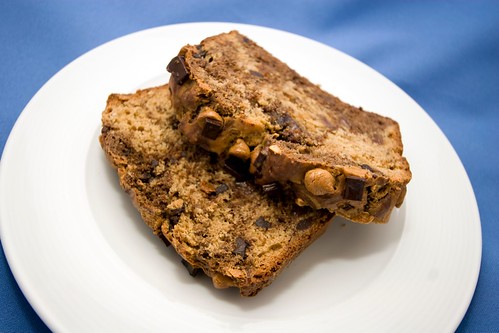
Curry Chocolate Chunk Banana Bread

IMG_0103

This bread is scrumptious. The curry flavor blends so nicely with the sweet mellow bananas and creamy chocolate. The coconut adds a familiar aspect and presents itself as a way for all of the flavors to come together. I highly suggested warming your slice in the oven or microwave and topping it with a nice pat of butter and letting it melt down into every nook and cranny... Mmmm!

IMG_0107IMG_0110

The Curry Chocolate Chunk Banana Bread makes a great breakfast, or just a nice afternoon snack! Don't be scared of the curry, I promise the flavor is subtle enough that it doesn't overpower the other ingredients, but pronounced enough to give it a tasty exotic flair. Serve this to your friends and neighbors and it won't soon be forgotten!


Curry Chocolate Chunk Banana Bread
recipe adapted from here

ingredients:
  • 1/2 cup unsweetened shredded coconut
  • 1 1/2 cups all-purpose flour
  • 1 tsp baking soda
  • 1/2 tsp salt
  • 1/2 cup unsalted butter, melted
  • 3/4 cup granulated or caster sugar
  • 2 large eggs, beaten
  • 2 mashed overripe bananas (I find if the are very overripe like mine which were frozen, you don't need to mash them first and can simply put them in whole and they will blend up just fine)
  • 1 tsp coconut extract
  • 1 cup chopped curry milk chocolate (I used 3400 Phinney Chocolate by Theo Chocolate in Organic Coconut Curry Milk Chocolate)
IMG_0084
  1. Preheat your oven to 325 degrees and butter and flour a 9x5 loaf pan.
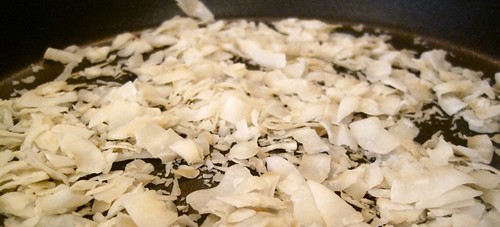
  2. Toast coconut in a skillet on the stove, being careful not to let it burn. Set aside to cool. IMG_0095
  3. Mix the flour, baking soda, salt, and coconut in a bowl and set aside.
  4. In a large mixing bowl, cream the butter and sugar, then add the eggs and beat until fully incorporated. Next add the bananas and coconut extract and mix well.
  5. Slowly add the dry mixture to the wet mixture and mix until just combined. Fold in the chocolate chunks.
  6. Pour batter into buttered and floured pan and bake for 45-60 minutes or until a toothpick inserted into the center comes out clean. Let the bread cool in the pan for 15 minutes and then remove, allowing it to cool to room temperature before slicing.
IMG_0104

The bread can be stored at room temperature for two days in a sealed container, or refrigerated up to a week.

Related Posts with Thumbnails