It's been a while! I sincerely apologize! I know I'm always full of excuses, but I truly have been a busy bee. Not only am I finishing up my second to last quarter of my college life (!!!!), but my best friend flew out to Seattle to surprise me last weekend which led to an impromptu trip to Vancouver. Then of course I was busy celebrating Memorial Day by cooking up a storm.
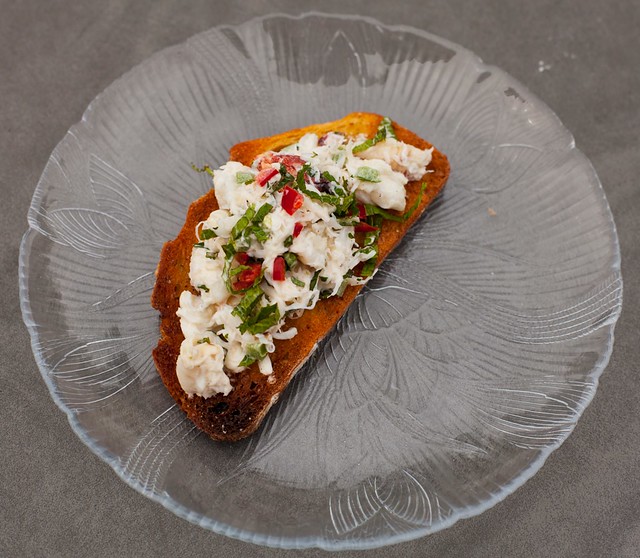
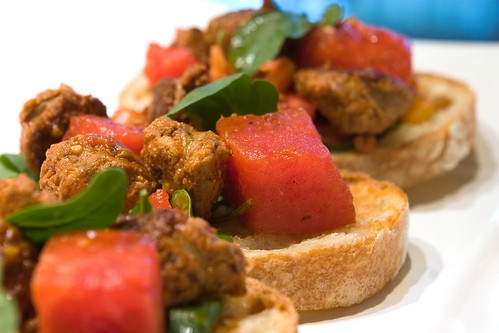
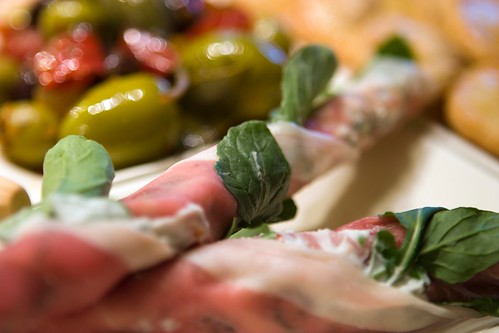
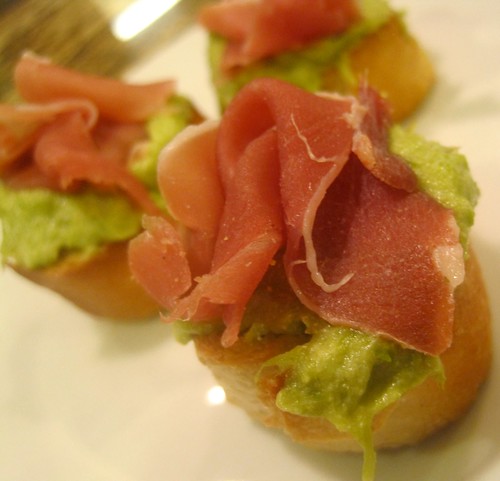
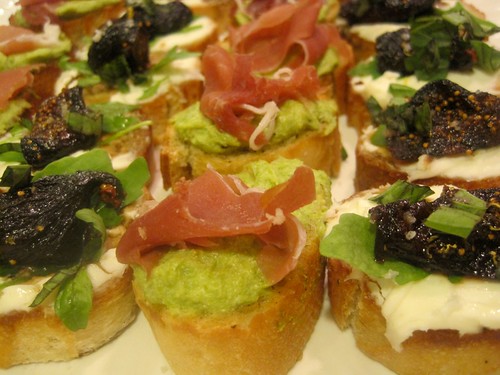
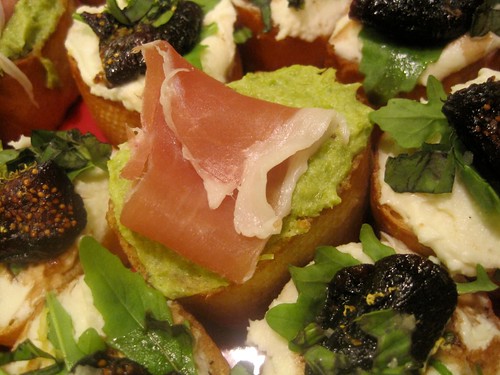
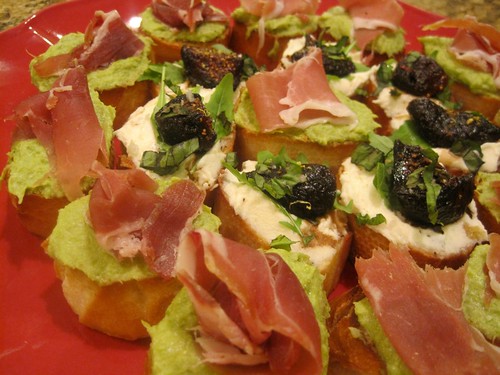
Anyways, I hope you can forgive me. I come bearing gifts. Check out these delicious looking crostinis! These were the perfect start to a Memorial Day cook-out meal. They are fresh, creamy, and slightly spicy, with a delicious crunch- basically everything good ever in one thing.
Crab is probably one of my favorite foods, and definitely my favorite shellfish, and this dish truly lets it shine. The tart lime juice and fresh mint gives the crab a wonderful clean flavor that is amazing paired with the moderately spicy chiles. It's truly incredibly how much flavor only a few ingredients can pack!

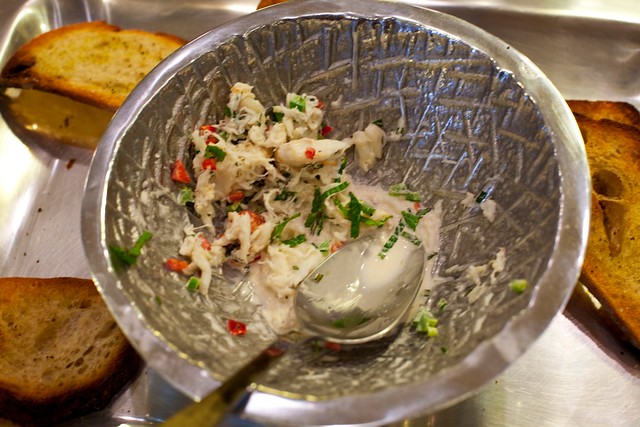
As you can see, our party of four pretty much devoured these crostinis :)
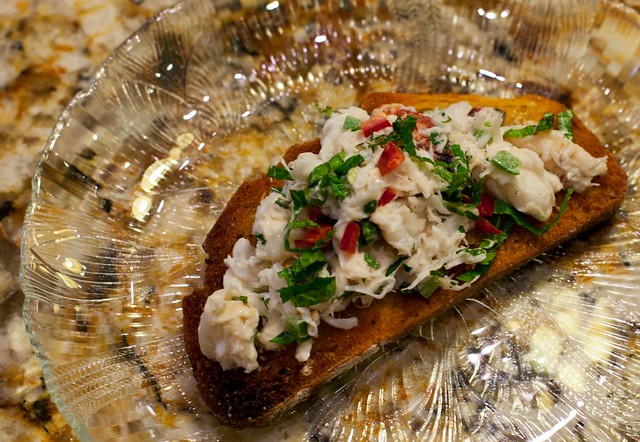
Crab, Chile, and Mint Crostinis
recipe from June 2011 Bon Appetit
serves 4-6
ingredients:
- 8 ounces cooked lump crab meat
- 3 tbsp mayonnaise
- 2 tbsp freshly squeezed lime juice
- 1 tbsp finely chopped fresh mint, plus more for garnish
- 1/2 Fresno chile, deseeded and minced
- 1 red jalapeno, deseeded, minced, and divided
- Salt and freshly ground pepper
- Sliced sourdough bread, as much as you would like
- Extra virgin olive oil
- Drizzle each slice of bread with olive oil and sprinkle with salt and pepper. Broil for 3 minutes, flip over, salt and pepper the other side, and broil for another 3 minutes; set aside.
- In a medium bowl, gently combine the crabmeat, mayo, lime juice, mint, fresno chile, and 1/2 the jalapeno. Season with salt and pepper to taste.
- Garnish with extra mint and the other 1/2 of the jalapeno. Serve with toasted bread.